Day 26: Generate config.toml with Claude Code Skills | The First 30 Days with EchoKit
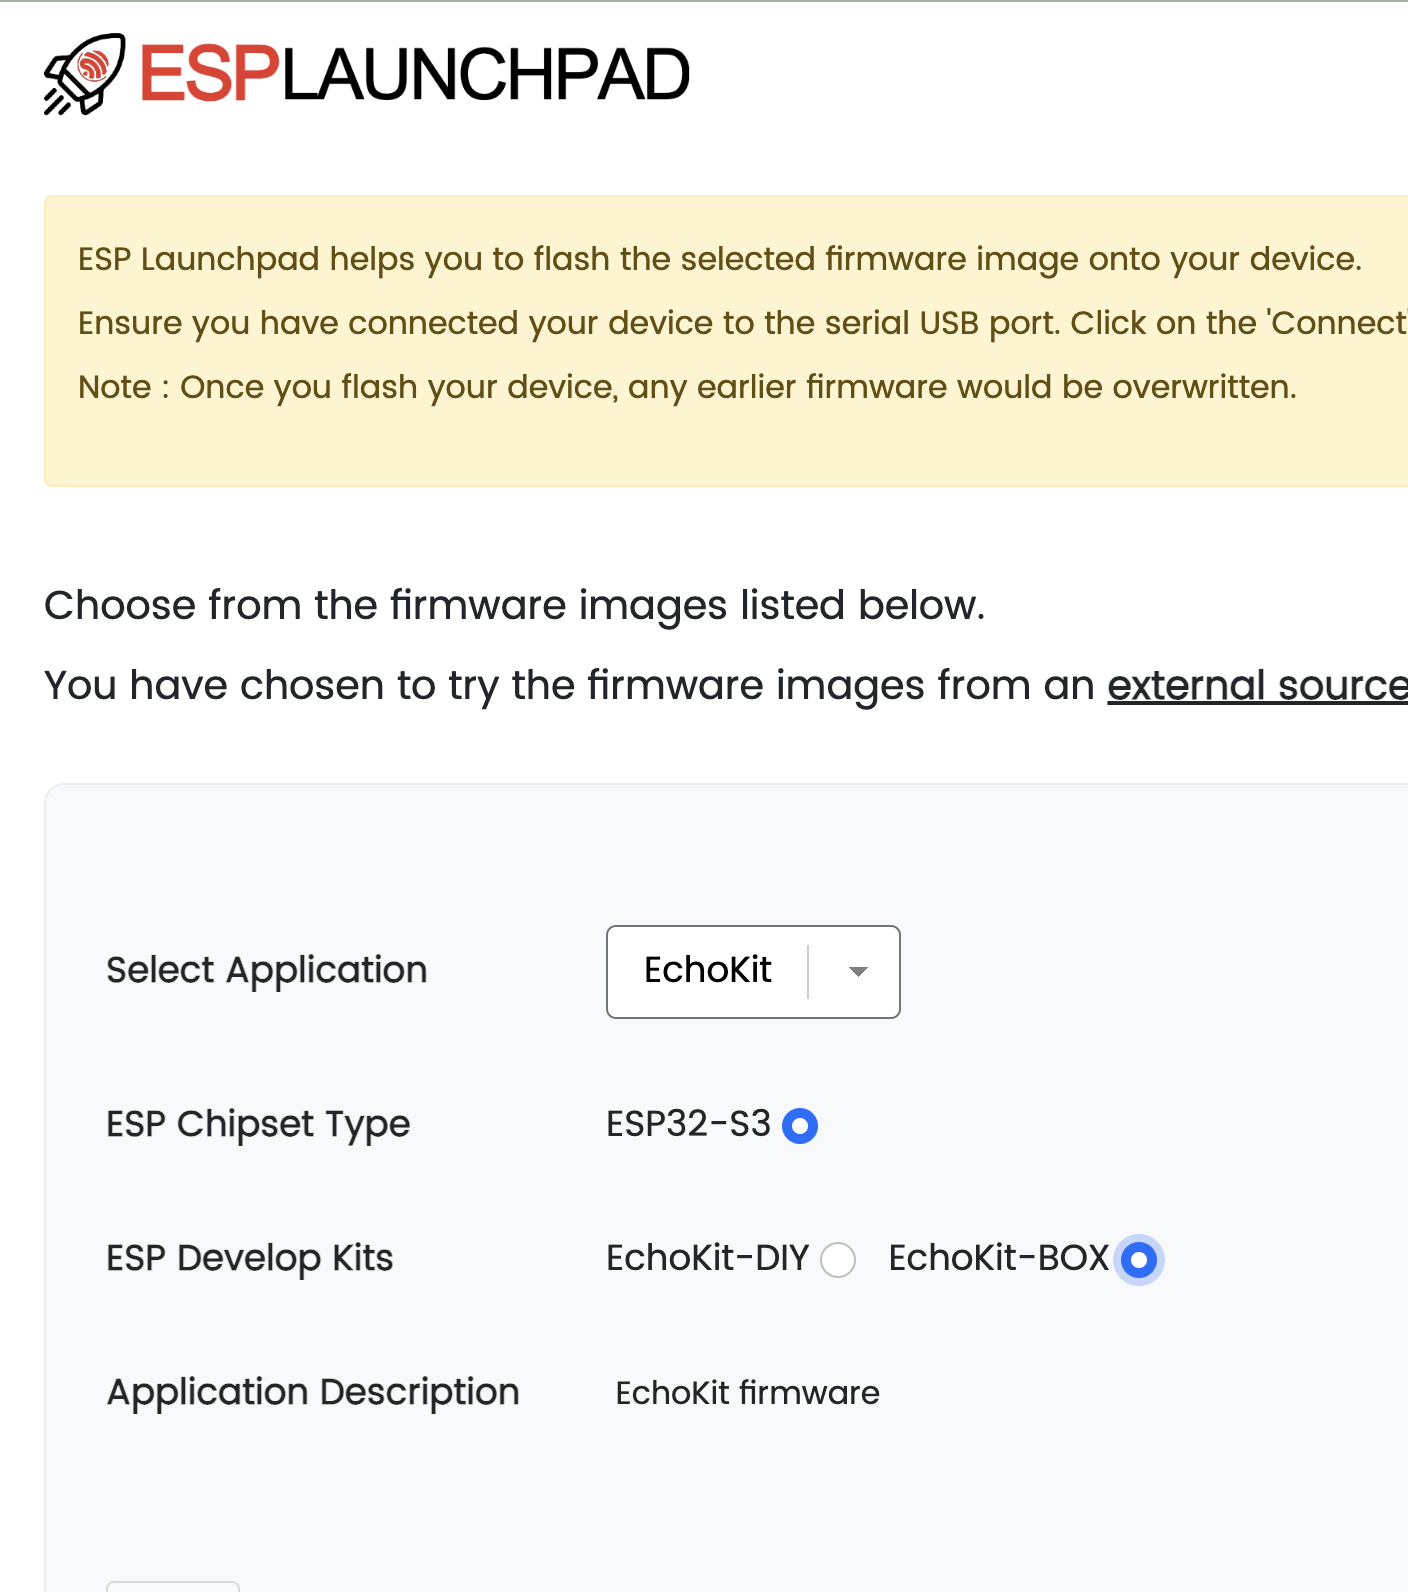
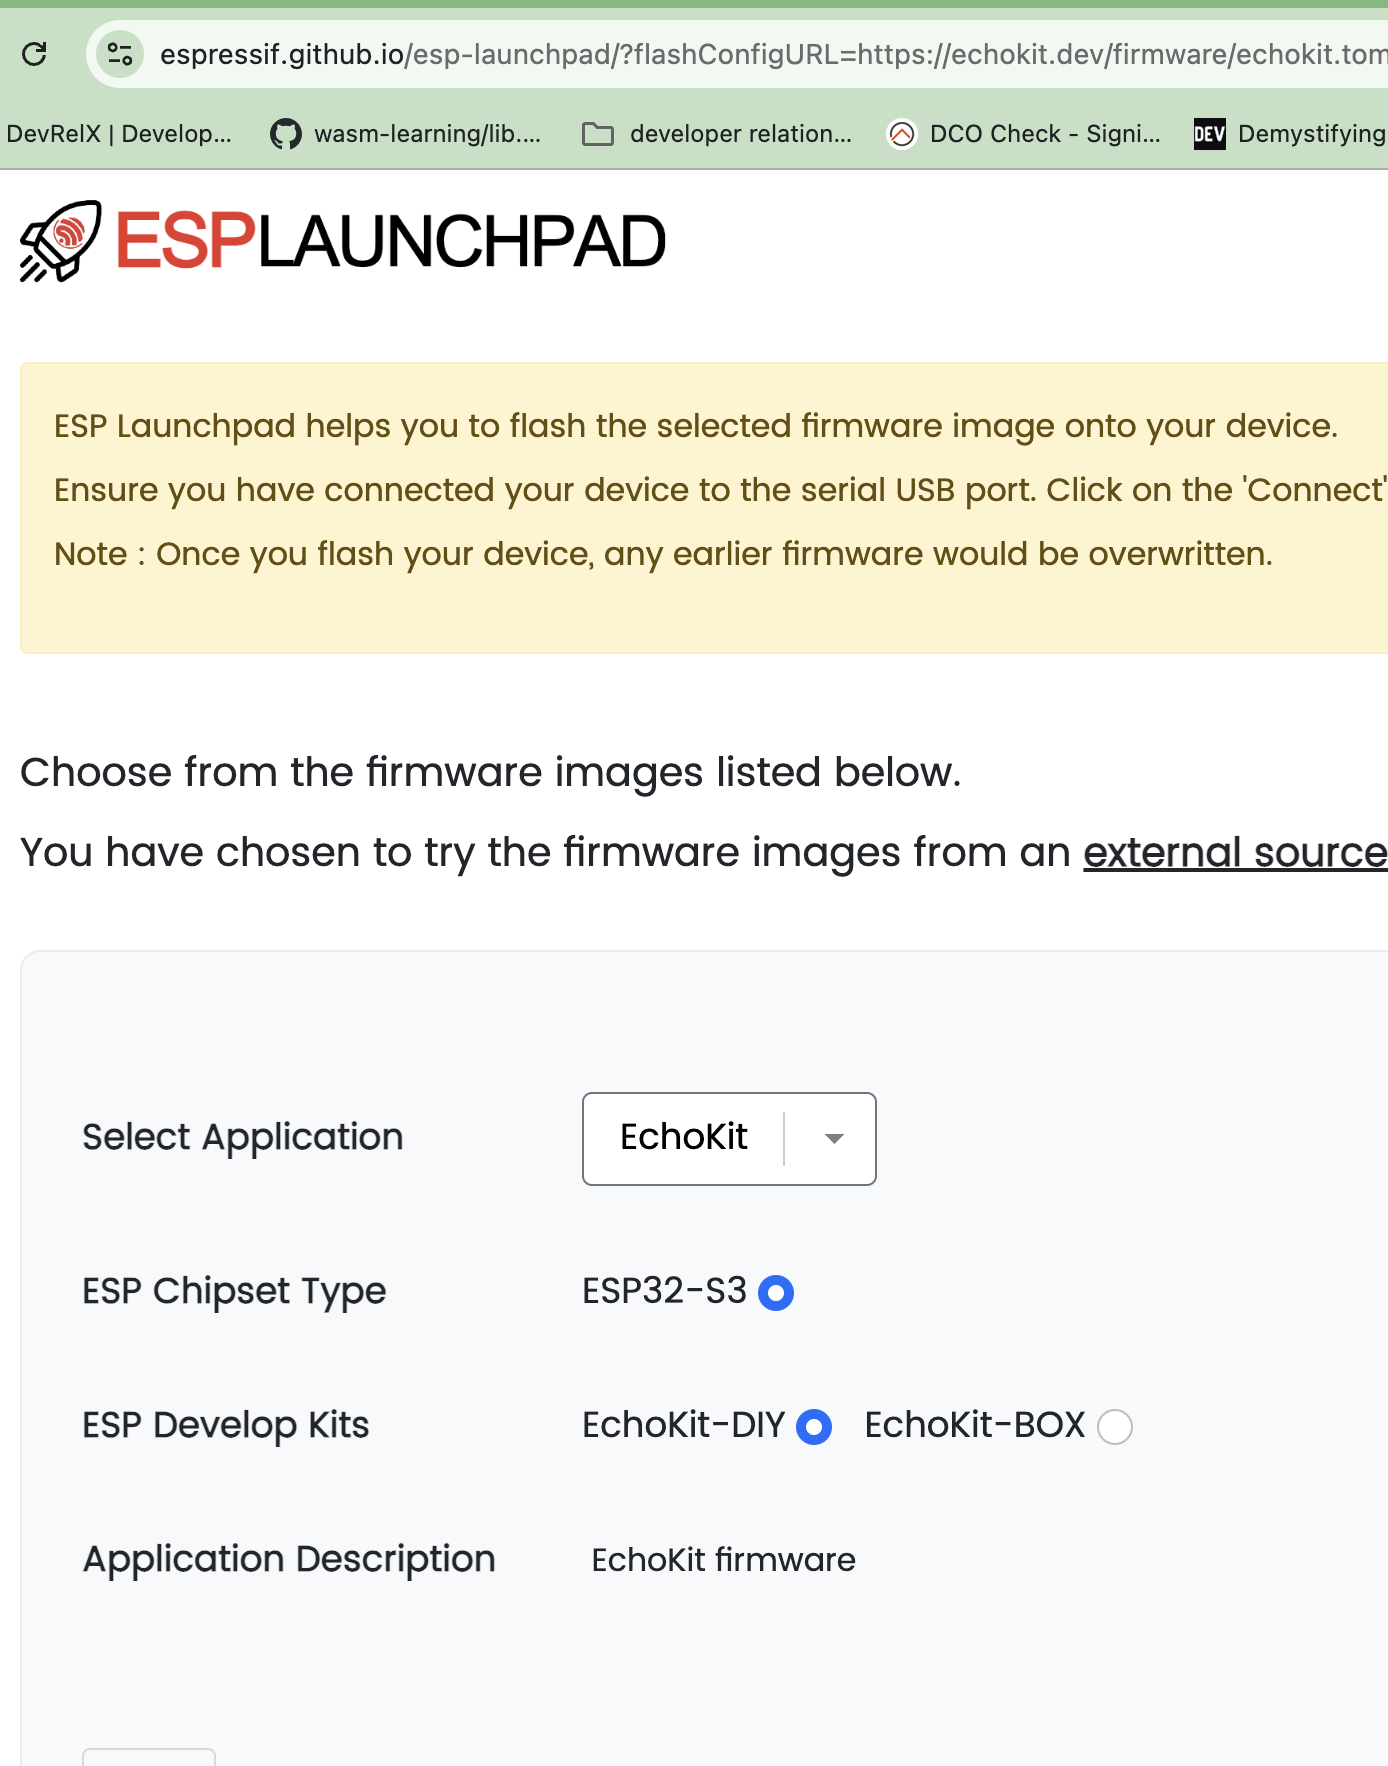
Over the first 25 days of this series, we've configured EchoKit by manually editing config.toml files. That works fine for tweaks, but it's tedious when you're setting up EchoKit for the first time or trying a completely different configuration.
Today, we're introducing a faster way: the EchoKit Config Generator skill for Claude Code.
This skill automates the entire setup process through an interactive conversation—no manual TOML editing required.
Watch the skill in action:
What Are Claude Code Skills?
Claude Code "skills" are reusable prompts that live in .claude/skills/ directories. Think of them as mini-programs written in natural language. Instead of explaining what you want every time, you trigger a skill, and it guides the AI through a structured workflow.
Why do we need Claude Code skill for EchoKit?
Setting up an EchoKit server involves many steps: writing TOML configuration, understanding platform-specific field names, collecting API keys, building the server, finding your IP address, and launching with the right commands. For beginners, this can be overwhelming. Even experienced users can forget details like which section comes first, or whether ElevenLabs uses api_key or token.
The EchoKit Config Generator skill solves this by turning setup into a conversation. More importantly, it teaches you how to configure EchoKit server along the way. As you answer questions, you learn:
- How to set up EchoKit server — What goes into
config.tomland why - How to run EchoKit server — The
cargo build --releasecommand, launching with debug logging - How to get your IP address — The skill shows you exactly how to find your actual local IP (not localhost) and construct the WebSocket URL
Unlike documentation that you read once and forget, the skill guides you through each step interactively. You see the config being generated, understand what each field does, and learn the workflow by doing it—while the skill handles the technical details for you.
The EchoKit Config Generator skill comes bundled with the echokit_server repository. Just clone the repo, and Claude Code discovers it automatically.
Installing the Skill
First, clone the echokit_server repository:
git clone https://github.com/second-state/echokit_server.git
cd echokit_server
That's it. Claude Code automatically discovers skills in .claude/skills/ directories within your workspace. No additional installation required.
Using the Skill
In Claude Code, simply say: "Generate an EchoKit config for a coding assistant"
The skill guides you through a 5-phase process:
Phase 1: Describe Your Assistant — Answer 7 questions about purpose, tone, capabilities, response style, domain knowledge, constraints, and preferences. The skill generates a sophisticated system prompt from your answers.
Phase 2: Choose Platforms — For each service (ASR, TTS, LLM), select from pre-configured options or choose "Custom" to specify any platform. The skill auto-discovers API documentation via web search for custom platforms.
Phase 3: MCP Server — Optionally add an MCP server by providing the URL.
Phase 4: Preview and Generate — Review your complete config.toml, confirm it's correct, and the skill writes both config.toml and SETUP_GUIDE.md to your chosen directory.
Phase 5: API Keys and Launch — The skill shows where to get API keys, collects them from you, updates config.toml, builds the server with cargo build --release, and launches it with debug logging enabled. When the server starts, the skill automatically detects your local IP address and displays the WebSocket URL ready for you to connect.
From zero to running EchoKit in one conversation.
Why This Matters
The Config Generator offers several advantages:
Faster Setup — Answer questions instead of reading docs and writing TOML manually. The skill handles syntax, field names, and structure automatically.
Fewer Errors — No more wrong field names, incorrect section order, or missing fields. The skill knows platform-specific details like ElevenLabs using token instead of api_key.
Custom Platform Discovery — Want to use a new LLM provider? The skill searches the web for API documentation and confirms with you. Groq, DeepSeek, Mistral, Together—all auto-discovered.
Rich System Prompts — The 7-question phase generates sophisticated system prompts tailored to your use case, saving you time crafting them manually.
Complete Workflow — It doesn't just generate a config. It collects API keys, builds the server, launches it, and even detects your local IP address. You get a ready-to-use WebSocket URL—no manual IP lookup required.
Ready Connection Details — After launching, the skill automatically finds your actual local IP address (not localhost) and displays the complete WebSocket URL. Just copy and paste it into your EchoKit device to connect.
When to Use the Skill vs. Manual Configuration
| Use the Skill When | Use Manual Config When |
|---|---|
| First-time EchoKit setup | Quick API key changes |
| Learning how EchoKit server works | Adjusting history value |
| Trying new LLM providers | Minor parameter tweaks |
| Creating custom personalities | Version-controlling configs |
| Exploring custom platforms | Scripting deployments |
| Understanding the complete workflow | You know exactly what you need |
Both approaches are valid. The skill is also a learning tool—it guides you through each step while explaining what's happening, so you understand the setup process deeply. Manual editing provides precision control once you're familiar with the configuration.
Supported Platforms
Pre-configured:
- ASR: OpenAI Whisper, Local Whisper
- TTS: OpenAI, ElevenLabs, GPT-SoVITS
- LLM: OpenAI Chat, OpenAI Responses API
Custom (auto-discovered via web search):
- Any OpenAI-compatible LLM: Groq, DeepSeek, Mistral, Together, and more
- Any platform with documented APIs
Choose "Custom" and the skill finds the rest.
What's Next: Day 27
You now have a fully configured EchoKit server running a custom personality—set up through conversation, not configuration files.
But what happens when you want to share your EchoKit setup with others? Or deploy it to multiple devices?
On Day 27, we'll explore configuration management: versioning your configs, sharing setups, and managing multiple EchoKit instances.
Ready to try the Config Generator skill or share your own configurations?
- Join the EchoKit Discord
Ready to get your own EchoKit?
- EchoKit Box → https://echokit.dev/echokit_box.html
- EchoKit DIY Kit → https://echokit.dev/echokit_diy.html
Start building your own voice AI agent today.