echokit_pty: Giving Claude Code a Remote Control
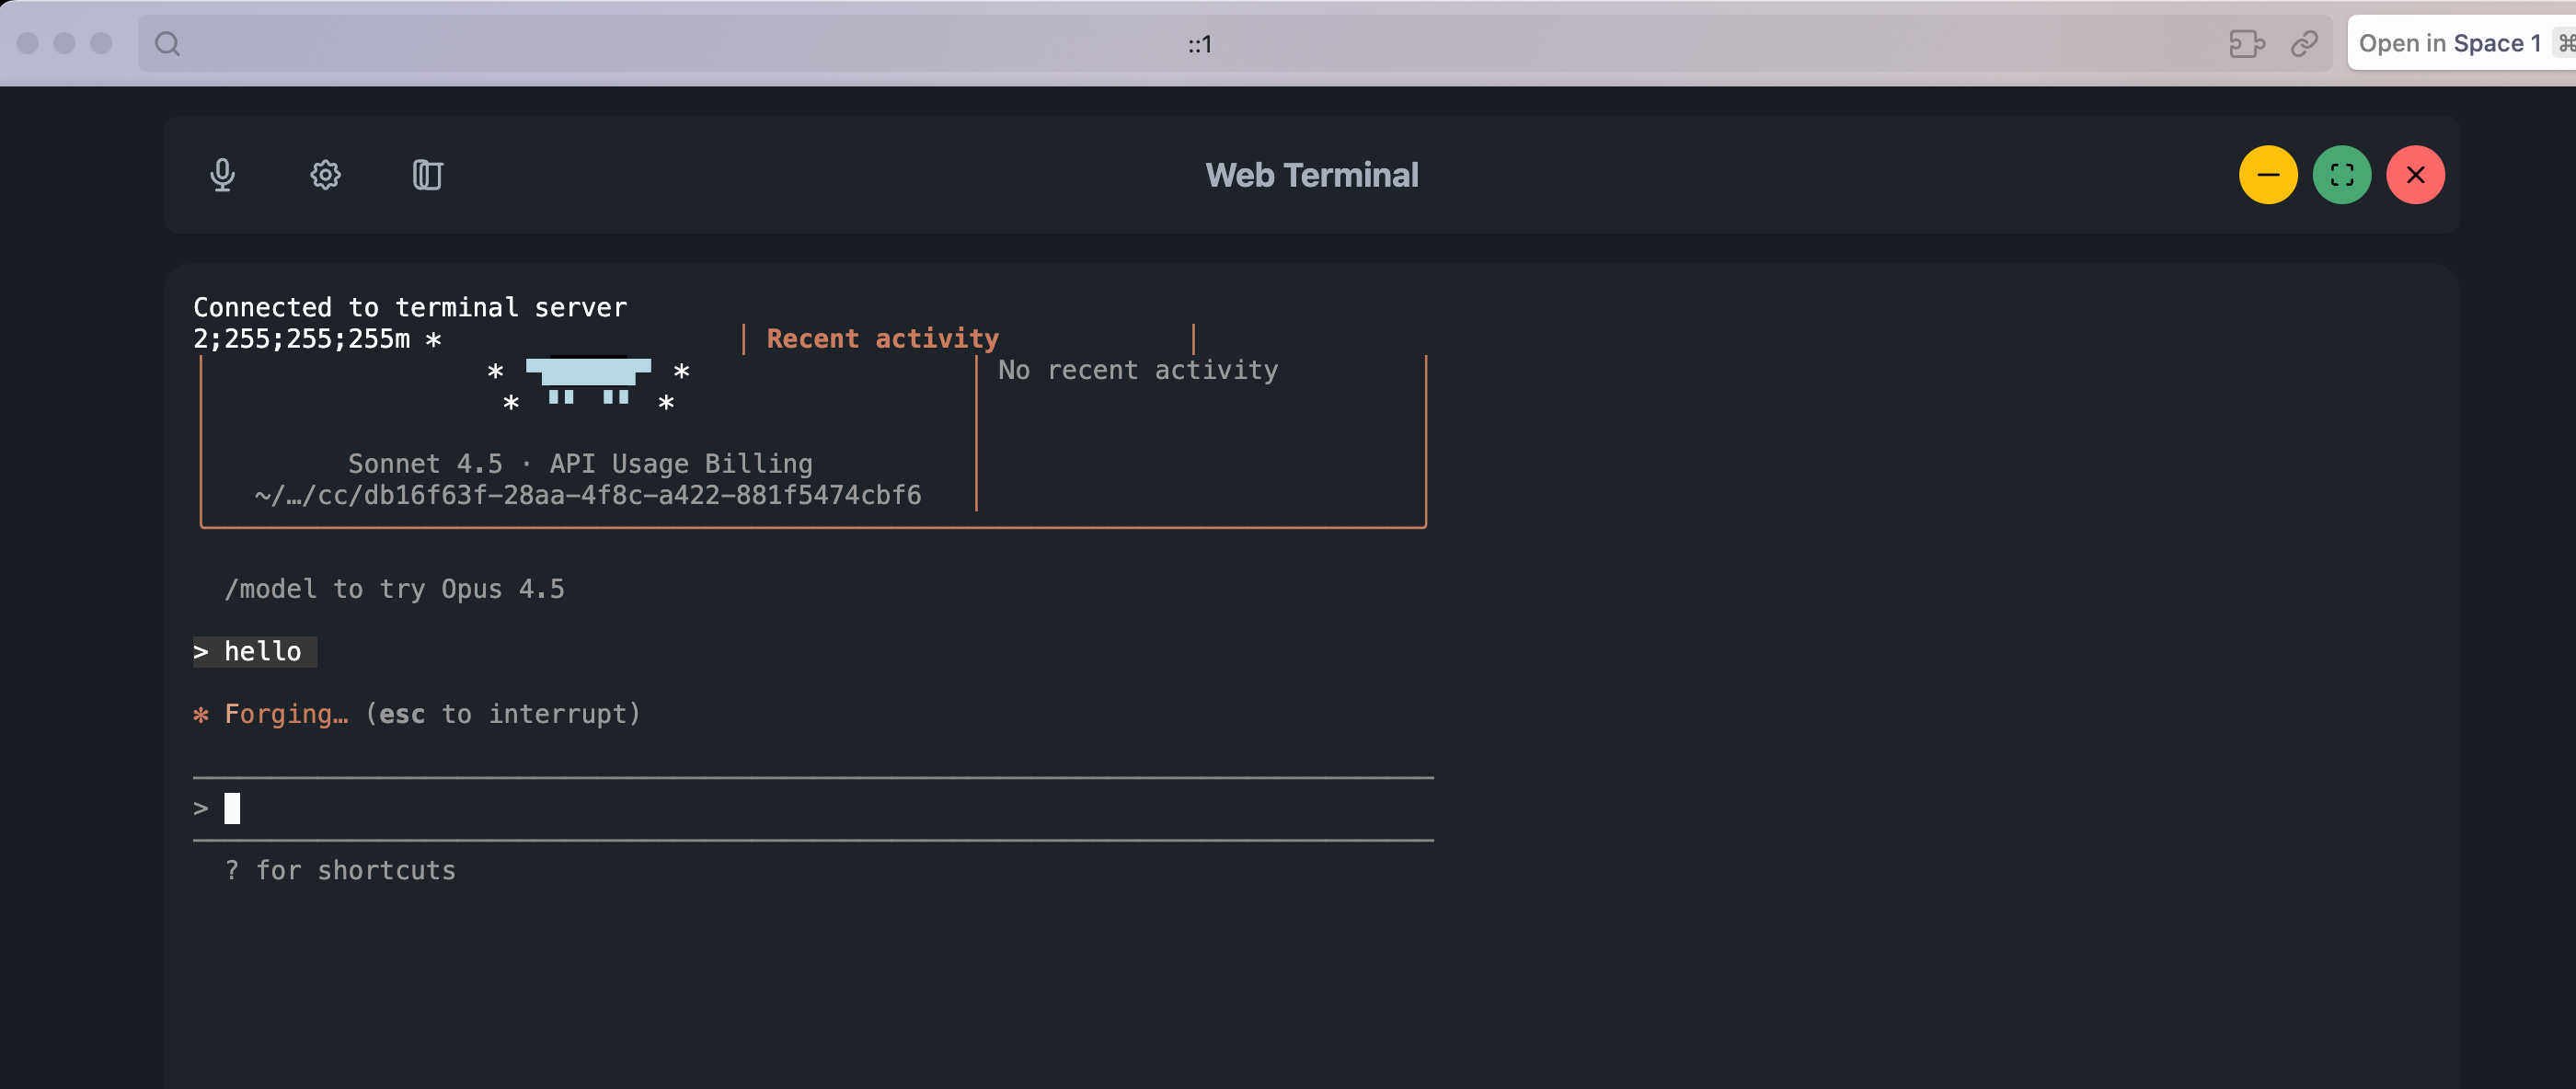
Claude Code is amazing. It writes code, fixes bugs, runs tests, explains errors. But it lives in your terminal. To use it, you type commands, get responses. It's a CLI tool, designed for terminal workflows.
But what if you want to build something on top of Claude Code? What if you want a web app? A mobile interface? A physical device? Voice control?
That's why we built echokit_pty.
What Is echokit_pty?
echokit_pty is the web version of Claude Code with a superpower: a WebSocket interface.
It handles Claude Code's input and output, turning its CLI into a WebSocket service. Suddenly, Claude Code isn't just a terminal app—it's a service that any application can talk to.
What makes it special?
- Full Claude Code capabilities (file editing, command execution, tool use)
- Clean JSON API for integrations. Check out the full API documentation here.
- Open and extensible - unlike Claude Code's official Remote Control, you have full control over the protocol and can customize every aspect
- No subscription required - free and open source vs. Max-only Remote Control
- Bidirectional streaming (real-time responses)
- Runs locally
- Built for developers building custom solutions
The Problem: Claude Code Is Trapped in the Terminal
Claude Code was designed as a CLI tool. You run it in your terminal, type commands, get responses. This works great for terminal workflows.
But what if you want to:
- Build a web app that uses Claude Code?
- Create a physical device that talks to Claude Code?
- Integrate Claude Code into another tool?
- Build a custom application that needs programmatic access?
Yes, Claude Code now has an official Remote Control feature for mobile and web access. But it's designed as a user-facing feature, not a developer platform. It requires a Max subscription, uses a closed protocol, and can't be integrated into custom applications.
That's where echokit_pty comes in.
The Solution: PTY + WebSocket
The bridge is echokit_pty.
What does "pty" mean?
PTY stands for "pseudo-terminal"—a Unix concept that allows a program to control a terminal as if a user were typing.
echokit_pty uses this technology to create a bridge between:
- WebSocket clients → send JSON commands
- Claude Code CLI → executes the commands
- Response streaming → sends results back
How It Works
echokit_pty is built with Rust. Here's the architecture:
┌─────────────────┐     WebSocket      ┌──────────────┐
│   Any Client    │ ◄─────────────────► │ echokit_pty  │
│  (Web, Mobile,  │     (ws://localhost)│   (Rust)     │
│   Device, etc.) │                     └──────┬───────┘
└─────────────────┘                            │
                                               │ PTY
                                               ↓
                                        ┌──────────────┐
                                        │ Claude Code  │
                                        │    CLI       │
                                        └──────────────┘
The flow:
- echokit_pty starts a WebSocket server (default:
ws://localhost:3000/ws) - Clients connect via WebSocket and send JSON commands
- echokit_pty forwards commands to Claude Code CLI through a pseudo-terminal
- Claude Code executes the command
- Results stream back through the WebSocket in real-time
Example:
// Client sends
{"type": "command", "content": "run the tests"}

// echokit_pty forwards to Claude Code

// Results stream back
{"type": "response", "content": "Running tests...\n142 passed, 3 failed"}
Getting Started
Installation:
First, clone and build echokit_pty:
git clone https://github.com/second-state/echokit_pty.git
cd echokit_pty
cargo build --release --bin echokit_cc
Running echokit_pty:
Set your workspace directory and start the server:
ECHOKIT_WORKING_PATH="/path/to/your/workspace" \
./target/release/echokit_cc -c ./run_cc.sh -b "localhost:3000"
The WebSocket server will start on ws://localhost:3000/ws.
echokit_pty vs. Claude Code Remote Control
You might be wondering: Should I use echokit_pty or Claude Code's official Remote Control?
Use Claude Code Remote Control if:
- You want to control Claude Code from your phone or browser
- You have a Max subscription and don't need customization
- You just need remote access, not programmatic control
Use echokit_pty if:
- You're building a custom application or service
- You need full control over the protocol and behavior
- You want to integrate Claude Code into hardware (voice devices, custom interfaces)
- You need a free, open-source solution
- You're building something beyond simple remote control
They're complementary, not competing. Remote Control is perfect for individual developers who want mobile access. echokit_pty is for builders who want to create entirely new experiences on top of Claude Code.
Use Cases: What Can You Build?
The beauty of echokit_pty is that it turns Claude Code into a platform. Here's what you can build:
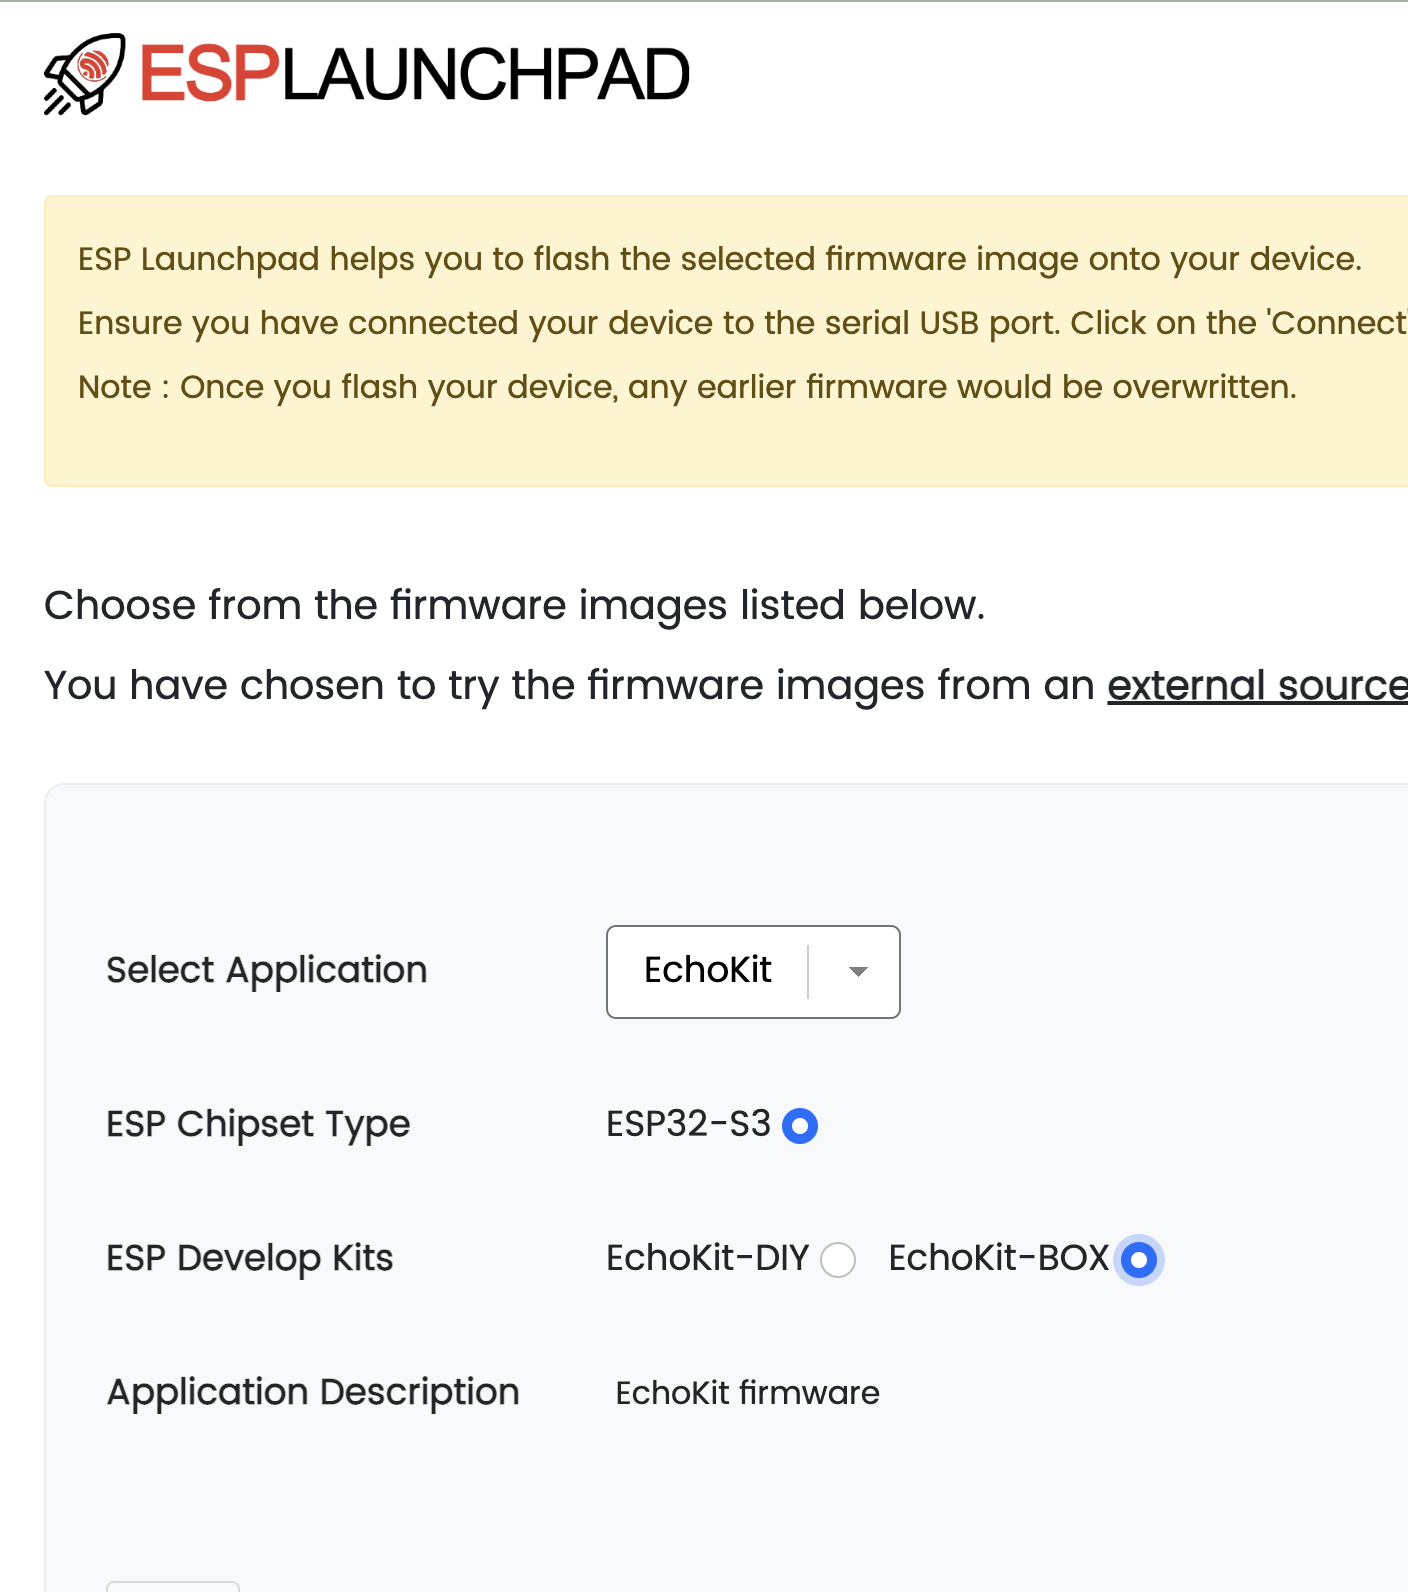
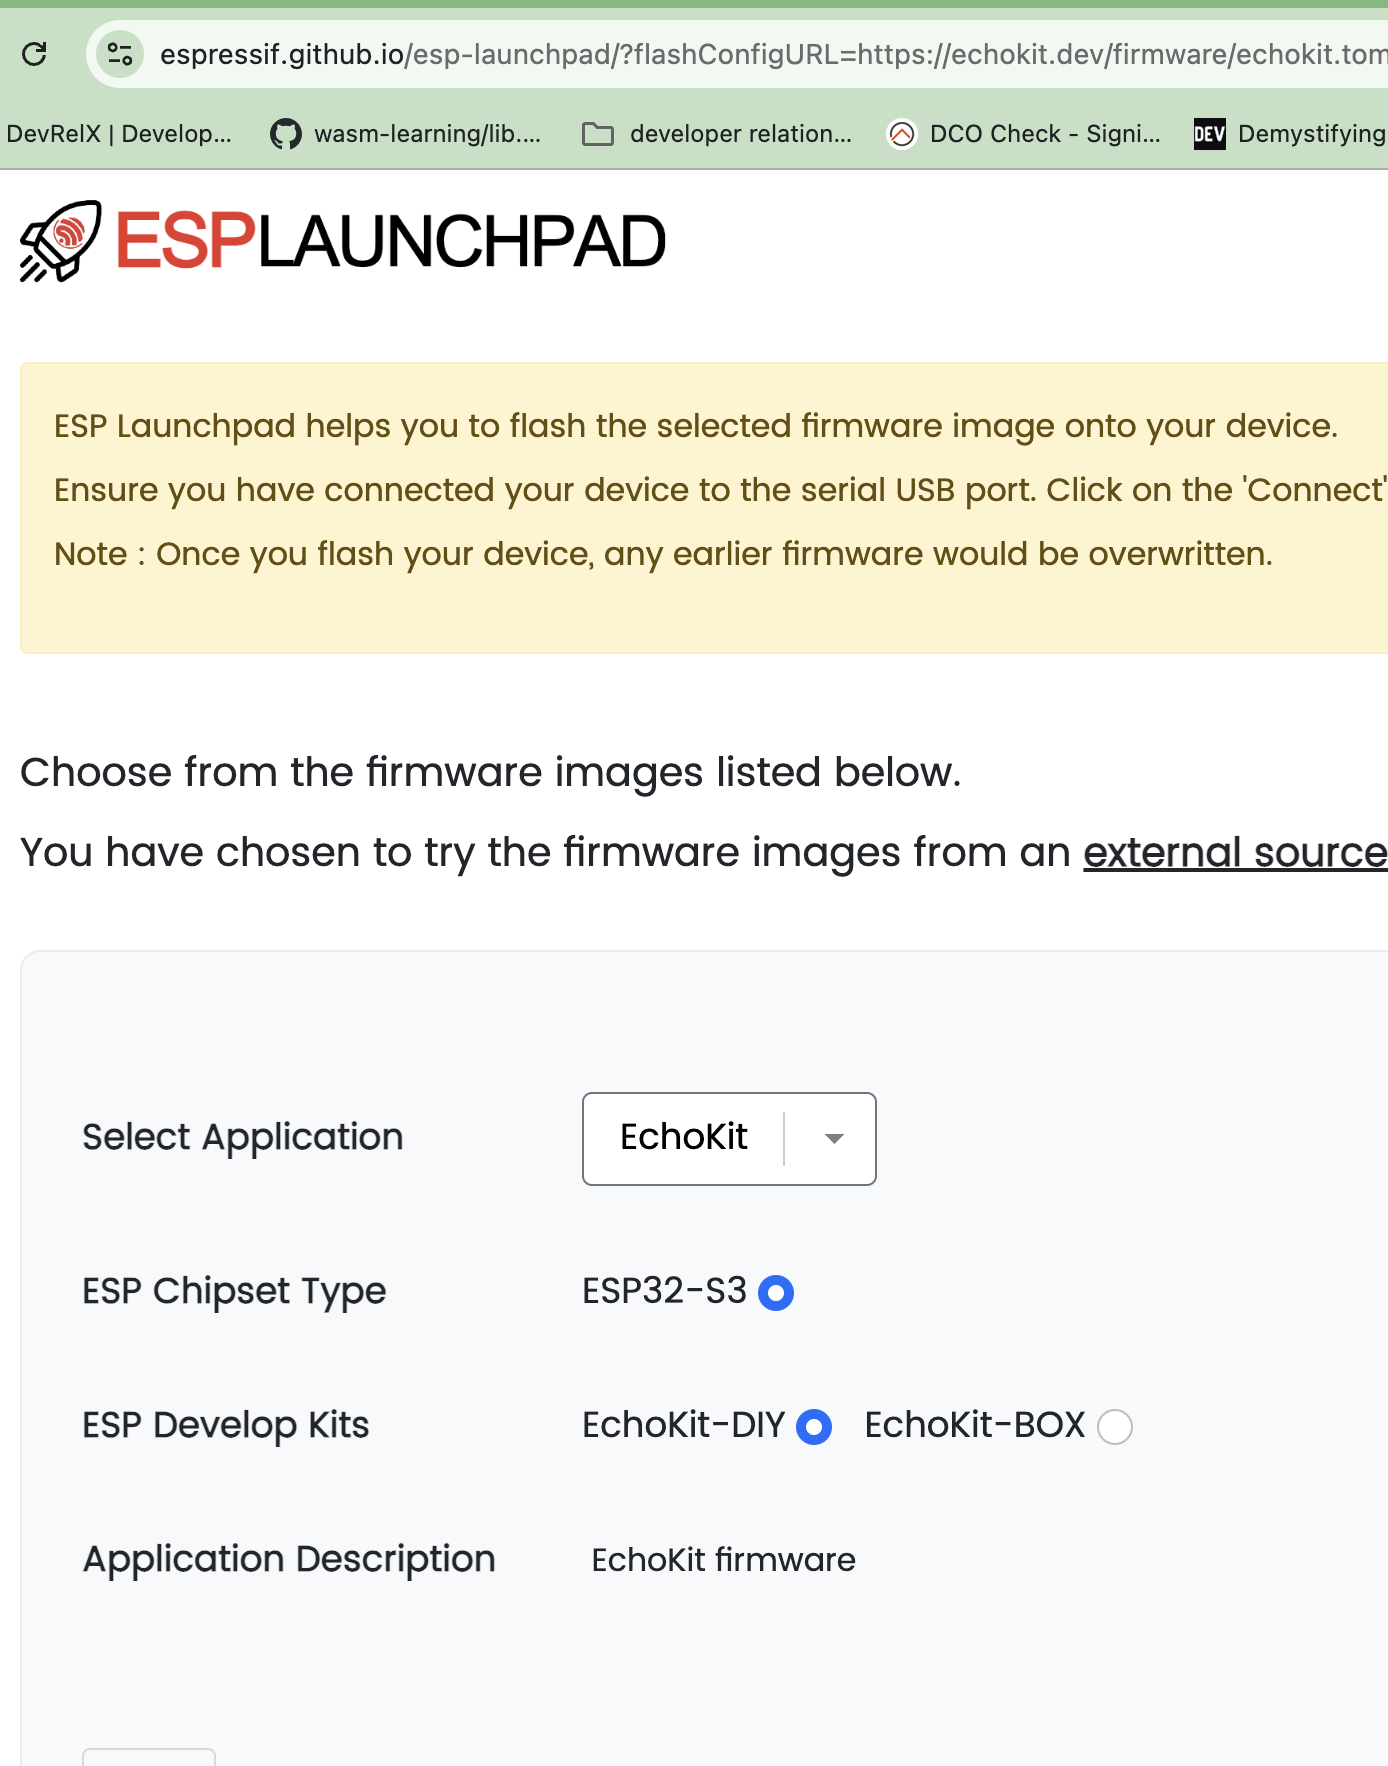
Voice-Controlled Coding Speak commands, Claude Code executes, hear results. Perfect for hands-free workflows. This is what EchoKit + echokit_pty enables.
Why echokit_pty for voice control? While Claude Code's Remote Control works great for mobile/web access, it doesn't support voice interfaces or custom hardware. echokit_pty's open API lets you build exactly the voice experience you need—whether that's a custom device, specialized voice commands, or integration with other speech services.
But it's just one implementation. For more details, check out EchoKit's full integration documentation.
Web Apps Build a web interface for Claude Code. No terminal required. Just open a browser, connect to the WebSocket, and start coding. Great for presentations, teaching, or developers who prefer GUIs.
Mobile Apps Control Claude Code from your phone. Run tests while walking. Check build status from the couch. Deploy from anywhere. Your coding environment fits in your pocket.
Pair Programming Platforms Create a web app where multiple people can interact with Claude Code simultaneously. Real-time collaboration, shared context, better than screen sharing.
Custom Developer Tools Build your own tools on top of Claude Code. Automations, dashboards, integrations—anything you can imagine. The WebSocket interface makes Claude Code a building block.
IDE Integrations Embed Claude Code directly into your IDE. VS Code extension, JetBrains plugin, custom editor—give Claude Code a proper home in your development environment.
The Vision
Claude Code is the most capable AI coding assistant today. With Remote Control, it can now follow you beyond the terminal. But that's just the beginning.
echokit_pty is about turning Claude Code into a true platform for innovation.
Imagine what we can build:
- Voice-controlled coding assistants with custom hardware
- Specialized interfaces for specific workflows
- Custom developer tools and dashboards
- AI-powered IDE integrations
- Educational platforms with tailored experiences
All built on top of echokit_pty's open API.
Claude Code as a platform for builders, not just a tool for users.
Ready to build something?
Start with the echokit_pty repository. See EchoKit's full integration documentation for a complete example. Join our Discord community to share your ideas.