Flash the firmware
Each EchoKit comes pre-flashed with our open-source ESP32 firmware. If your device isn't working as expected, you can manually re-flash it by following these steps.
This guide shows the EchoKit DIY device as examples. The EchoKit Box device is very similiar. Just choose the appropriate "ESP Develop Kits" on the Launchpad UI or download the correct firmware binary file as indicated below.
1. Connect your EchoKit device to your computer
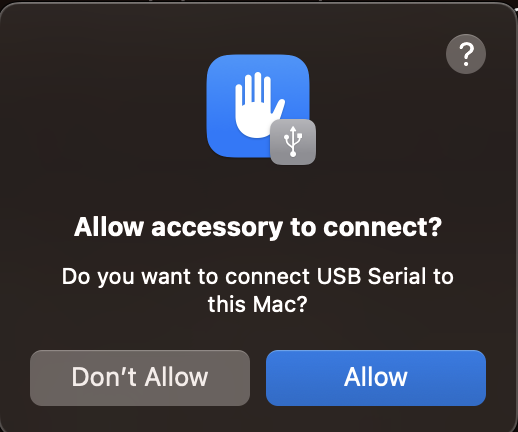
You need to use an USB cable to connect between your computer and the USB-C port on EchoKit DIY labeled OTG (or, on EchoKit Box labeled SLAVE). Your computer will probably prompt you to accept or trust the connected USB device. You MUST accept the USB connection.
2. Use the ESP32 launchpad to flash
Load the launchpad and select the "ESP Develop Kits" for the device you have - EchoKit-DIY or EchoKit-Box.
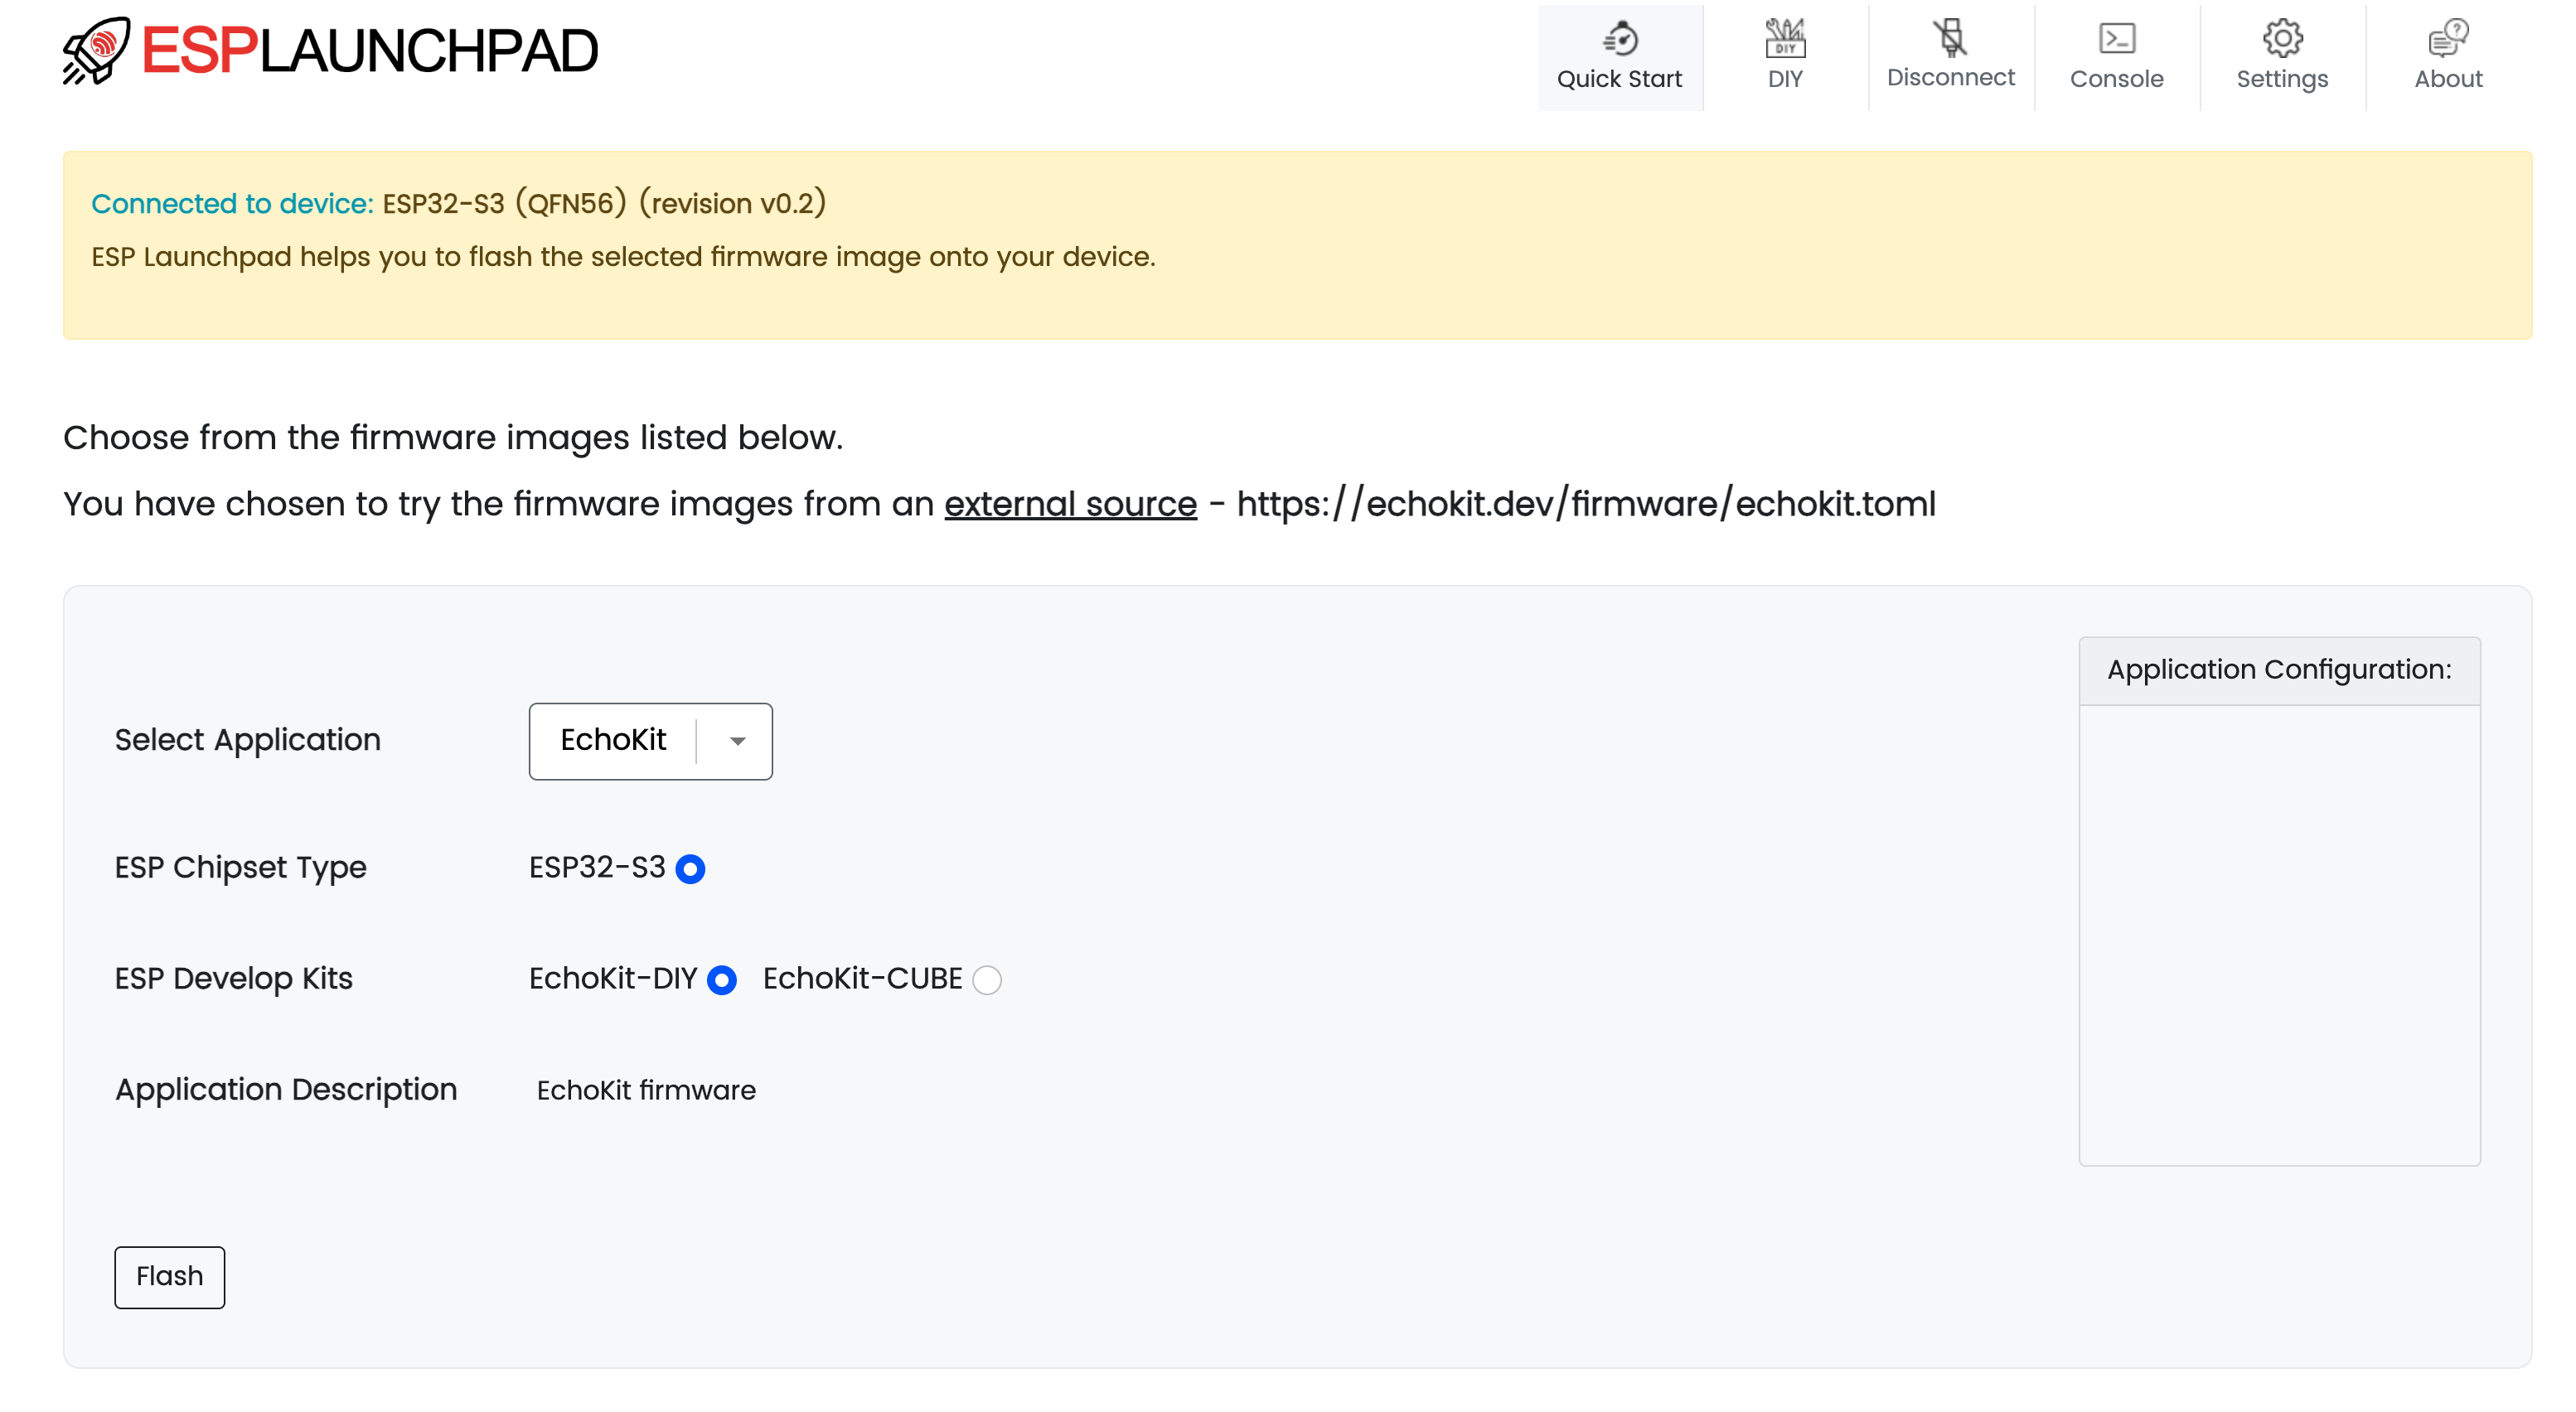
Click on Connect at the top menu to connect to your device via the USB cable.
TROUBLESHOOTING: If it fails, you may force the EchoKit device to enter the "flashing" mode. Press and hold down the RST button (DIY | BOX), and at the same time, press and release the K0 button (DIY | BOX). The screen could go dark, and the device will be ready to flash.
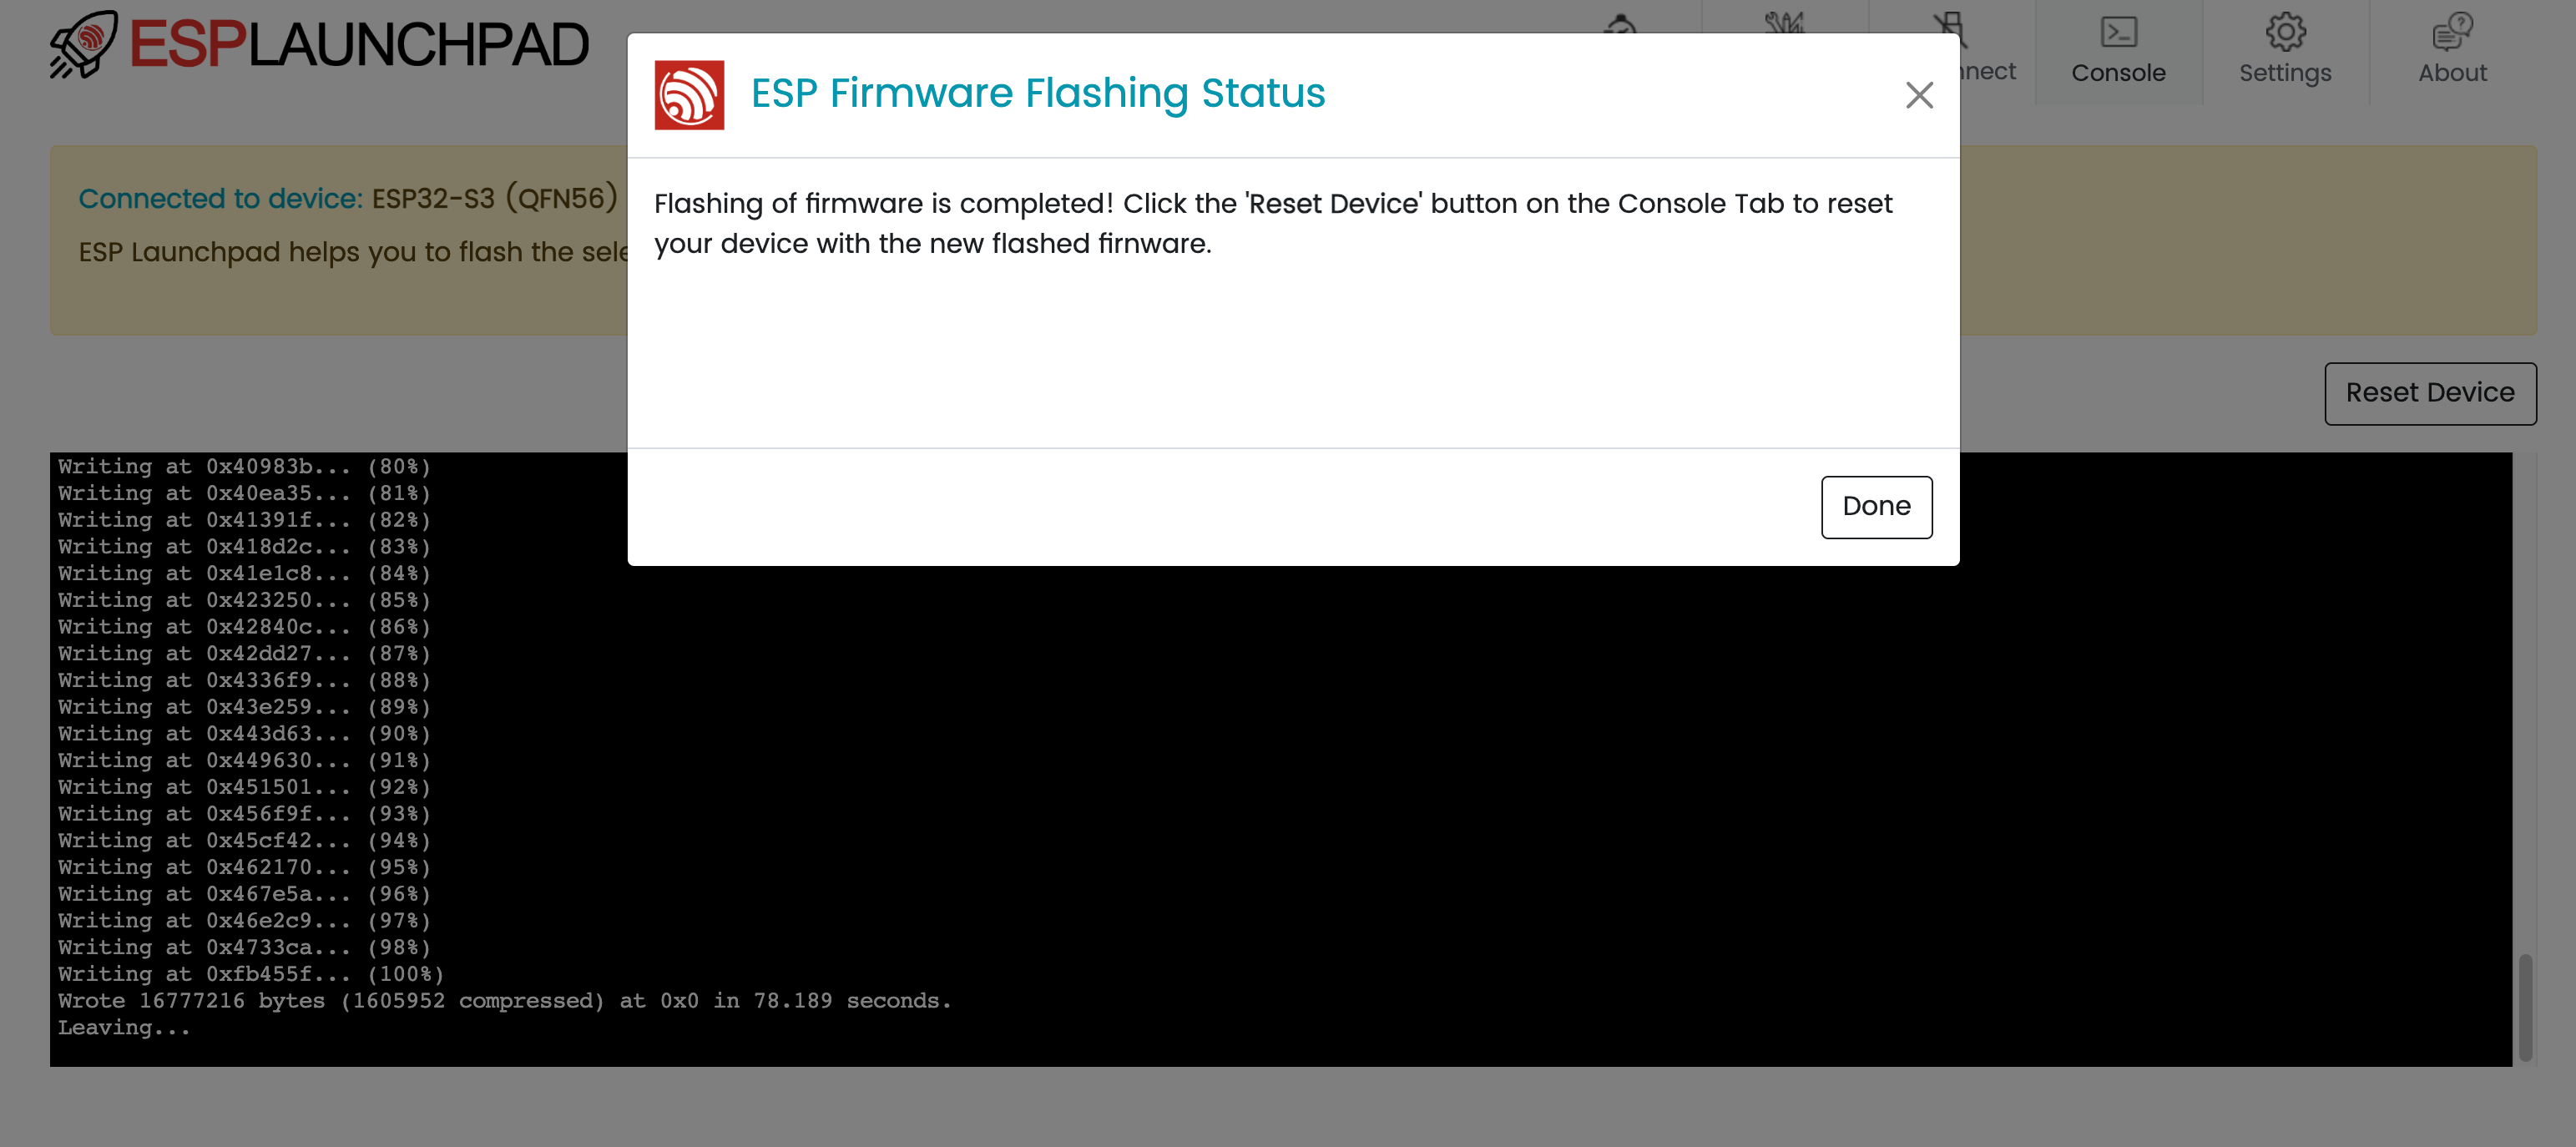
Click on the Flash button at the bottom of the page to start flashing firmware onto the device. You will see a console showing the flashing progress.
Once it is done. Click on the Reset Device button as instructed.
After completing this process, your EchoKit should display a QR code and instructions on its screen.
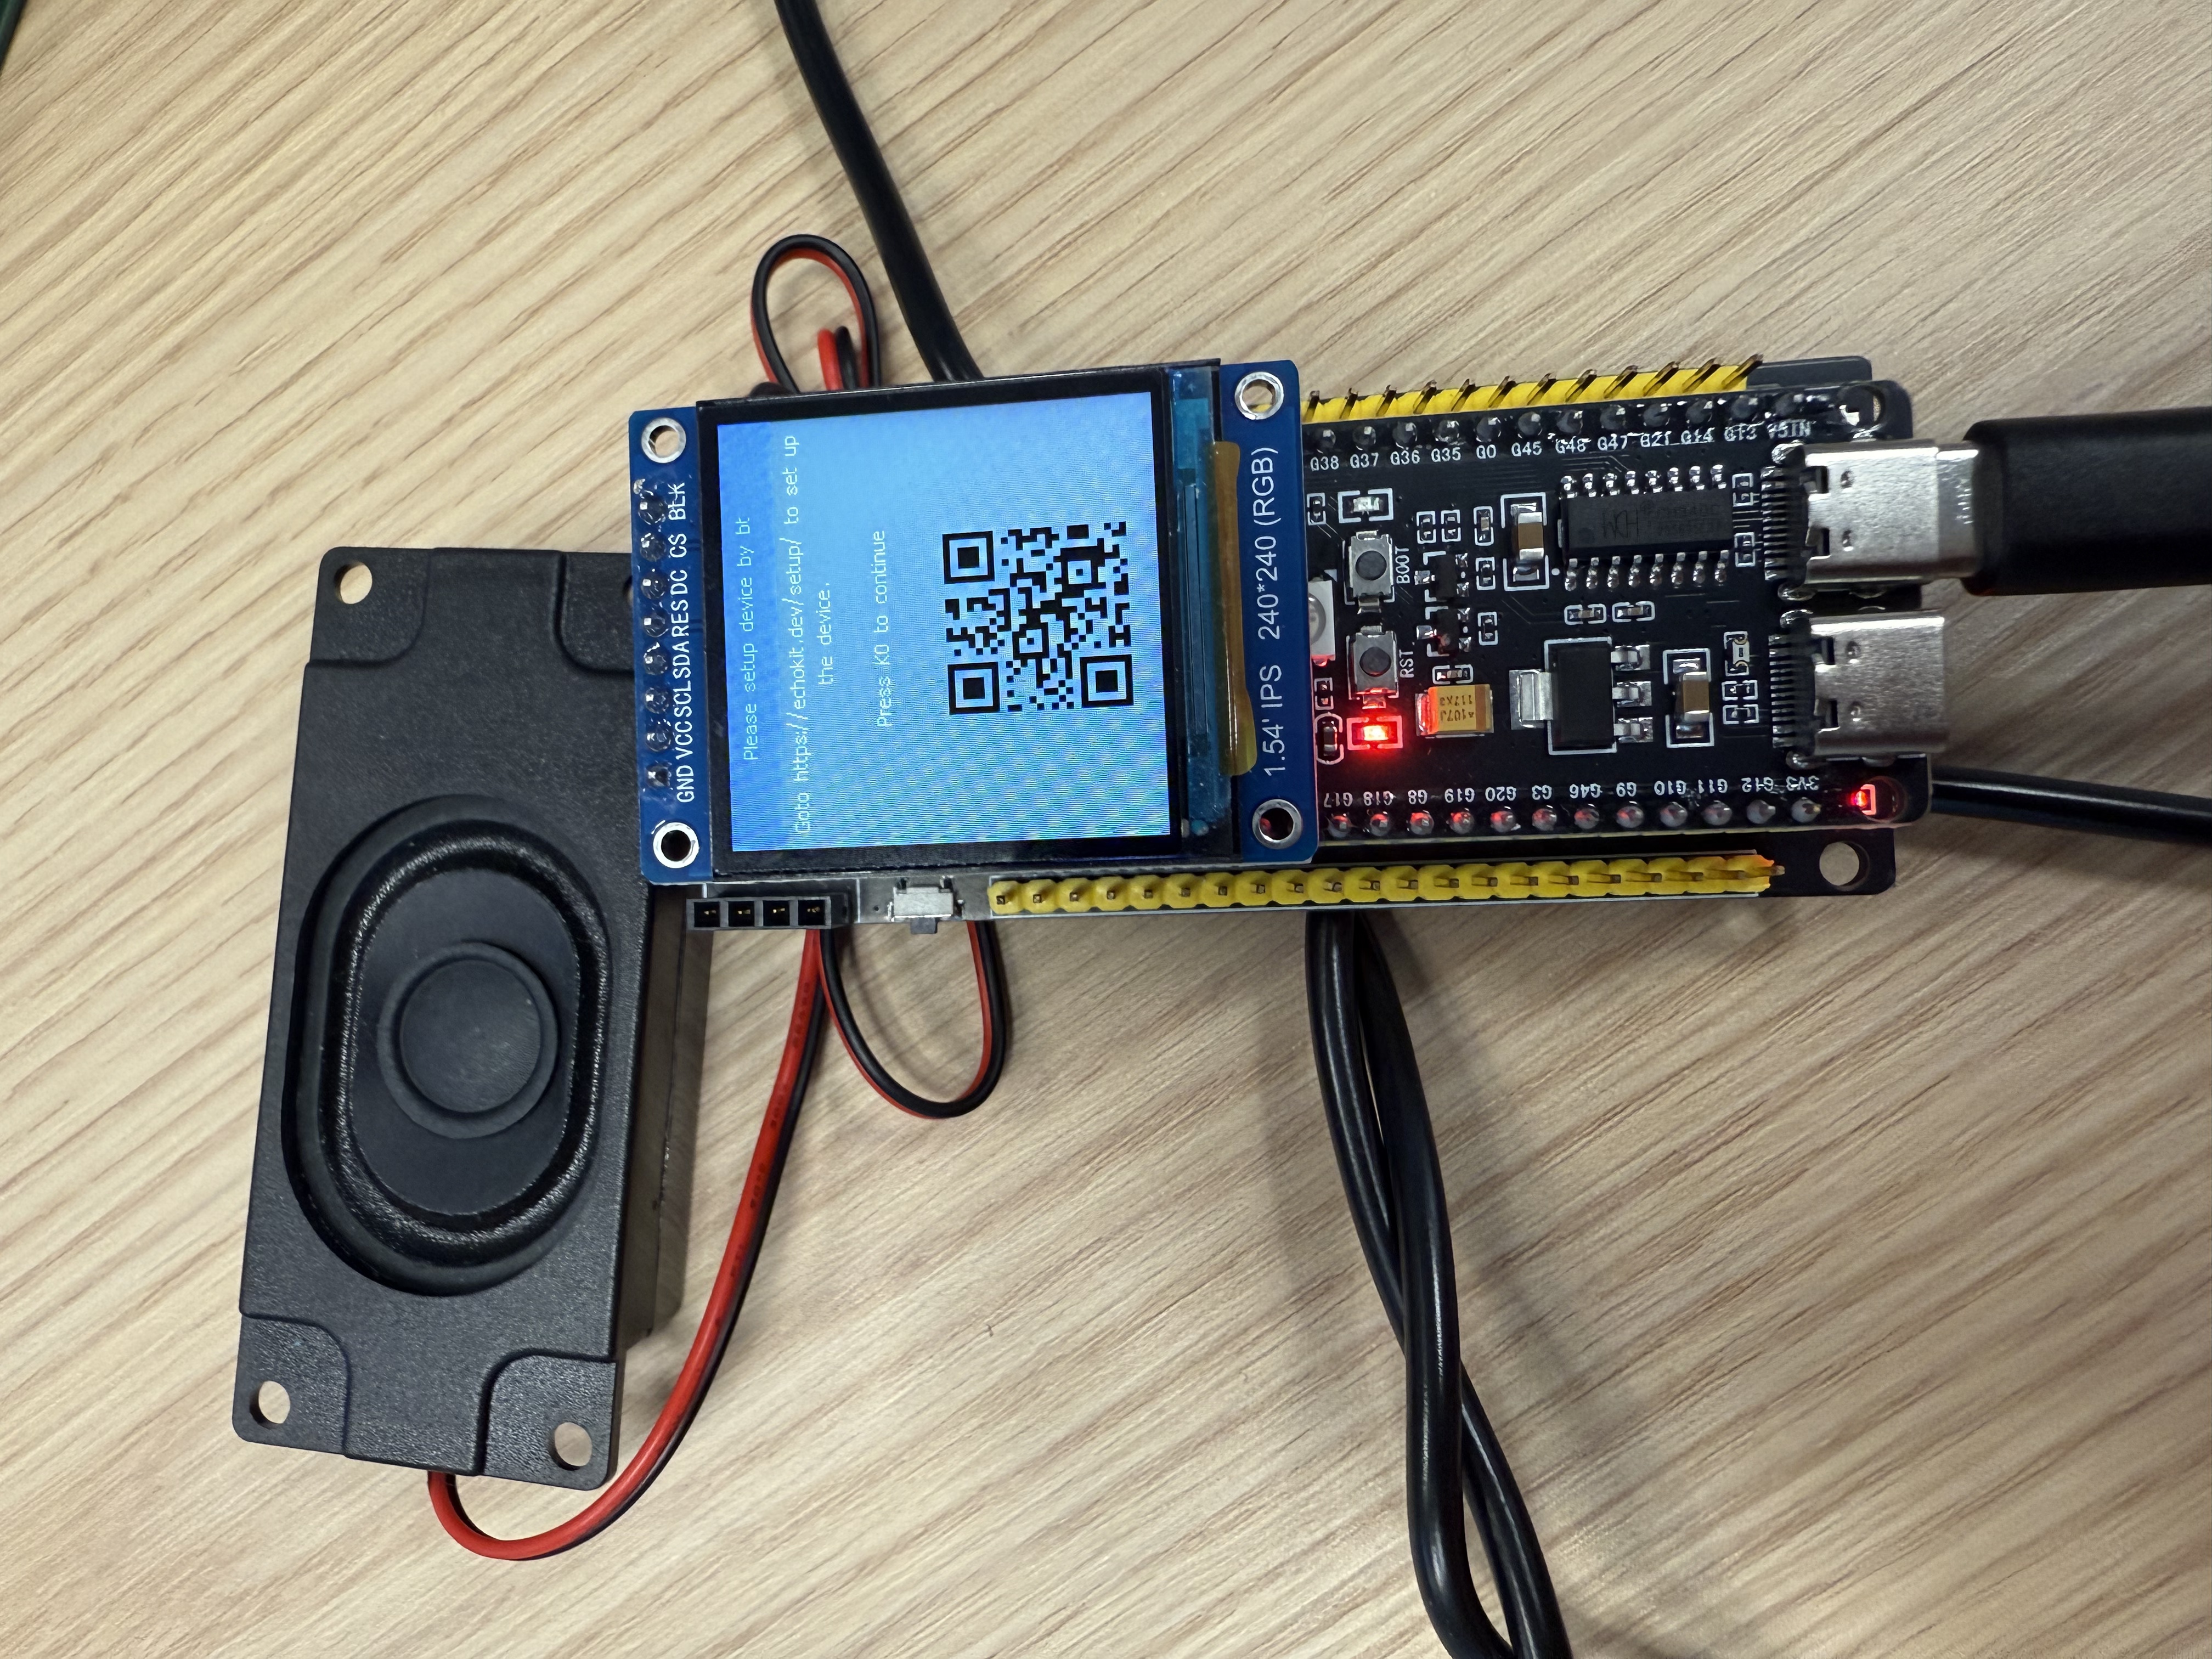
Next, go to the Getting Started Guide for EchoKit DIY or BOX to configure your EchoKit device for network access.
3. Use a command line tool to flash
While the ESP32 Launchpad should work for most devices, we have found occasional devices that refuse to work with the launchpad. For those devices, you could try the espflash CLI tool. It is often faster and easier if you are a software developer!
3.1 Install the Rust Toolchain
First, make sure you have the Rust toolchain installed. If not, follow the official Rust installation guide.
3.2 Install espflash and Dependencies
Run the following command to install espflash and related tools:
cargo install cargo-espflash espflash ldproxy
3.3 Download the Precompiled Firmware
Fetch the latest precompiled EchoKit firmware:
# For EchoKit DIY
curl -L -o echokit https://echokit.dev/firmware/echokit_boards

# OR

# For EchoKit Box
curl -L -o echokit https://echokit.dev/firmware/echokit_box
3.4 Flash the Firmware to EchoKit
Use the command below to flash your device:
espflash flash --monitor --flash-size 16mb echokit
If there are errors, you could try to disconnect the device from the USB cable, and then reconnect the data cable to the USB port on the other side (e.g., the
TTLport on EchoKit DIY)!
You should see output similar to this:
[2025-04-28T16:51:43Z INFO ] Detected 2 serial ports
[2025-04-28T16:51:43Z INFO ] Ports which match a known common dev board are highlighted
[2025-04-28T16:51:43Z INFO ] Please select a port
✔ Remember this serial port for future use? · no
[2025-04-28T16:52:00Z INFO ] Serial port: '/dev/cu.usbmodem2101'
[2025-04-28T16:52:00Z INFO ] Connecting...
[2025-04-28T16:52:00Z INFO ] Using flash stub
Chip type:         esp32s3 (revision v0.2)
Crystal frequency: 40 MHz
Flash size:        8MB
Features:          WiFi, BLE
... ...
I (705) boot: Loaded app from partition at offset 0x10000
I (705) boot: Disabling RNG early entropy source...
I (716) cpu_start: Multicore app
Once flashing succeeds, you should see output similar to this:
I (4990) esp32_nimble::ble_device: Device Address: 98:A3:16:E5:D8:4A
I (4993) NimBLE: GAP procedure initiated: advertise;
I (4996) NimBLE: disc_mode=2
I (4998) NimBLE:  adv_channel_map=0 own_addr_type=0 adv_filter_policy=0 adv_itvl_min=0 adv_itvl_max=0
I (5007) NimBLE:

I (5010) echokit: Free SPIRAM heap size: 5248788
I (5014) echokit: Free INTERNAL heap size: 81847
I (5147) esp_idf_hal::interrupt::asynch: IsrReactor "IsrReactor" started.
And the display will light and show the QR code.
Next steps
After flashing, you’ll need to:
- Set up and run an EchoKit server
- Configure your device to connect to the server
Once both steps are complete, your EchoKit will be ready for use.