Day 22: Flashing EchoKit from the Command Line | The First 30 Days with EchoKit
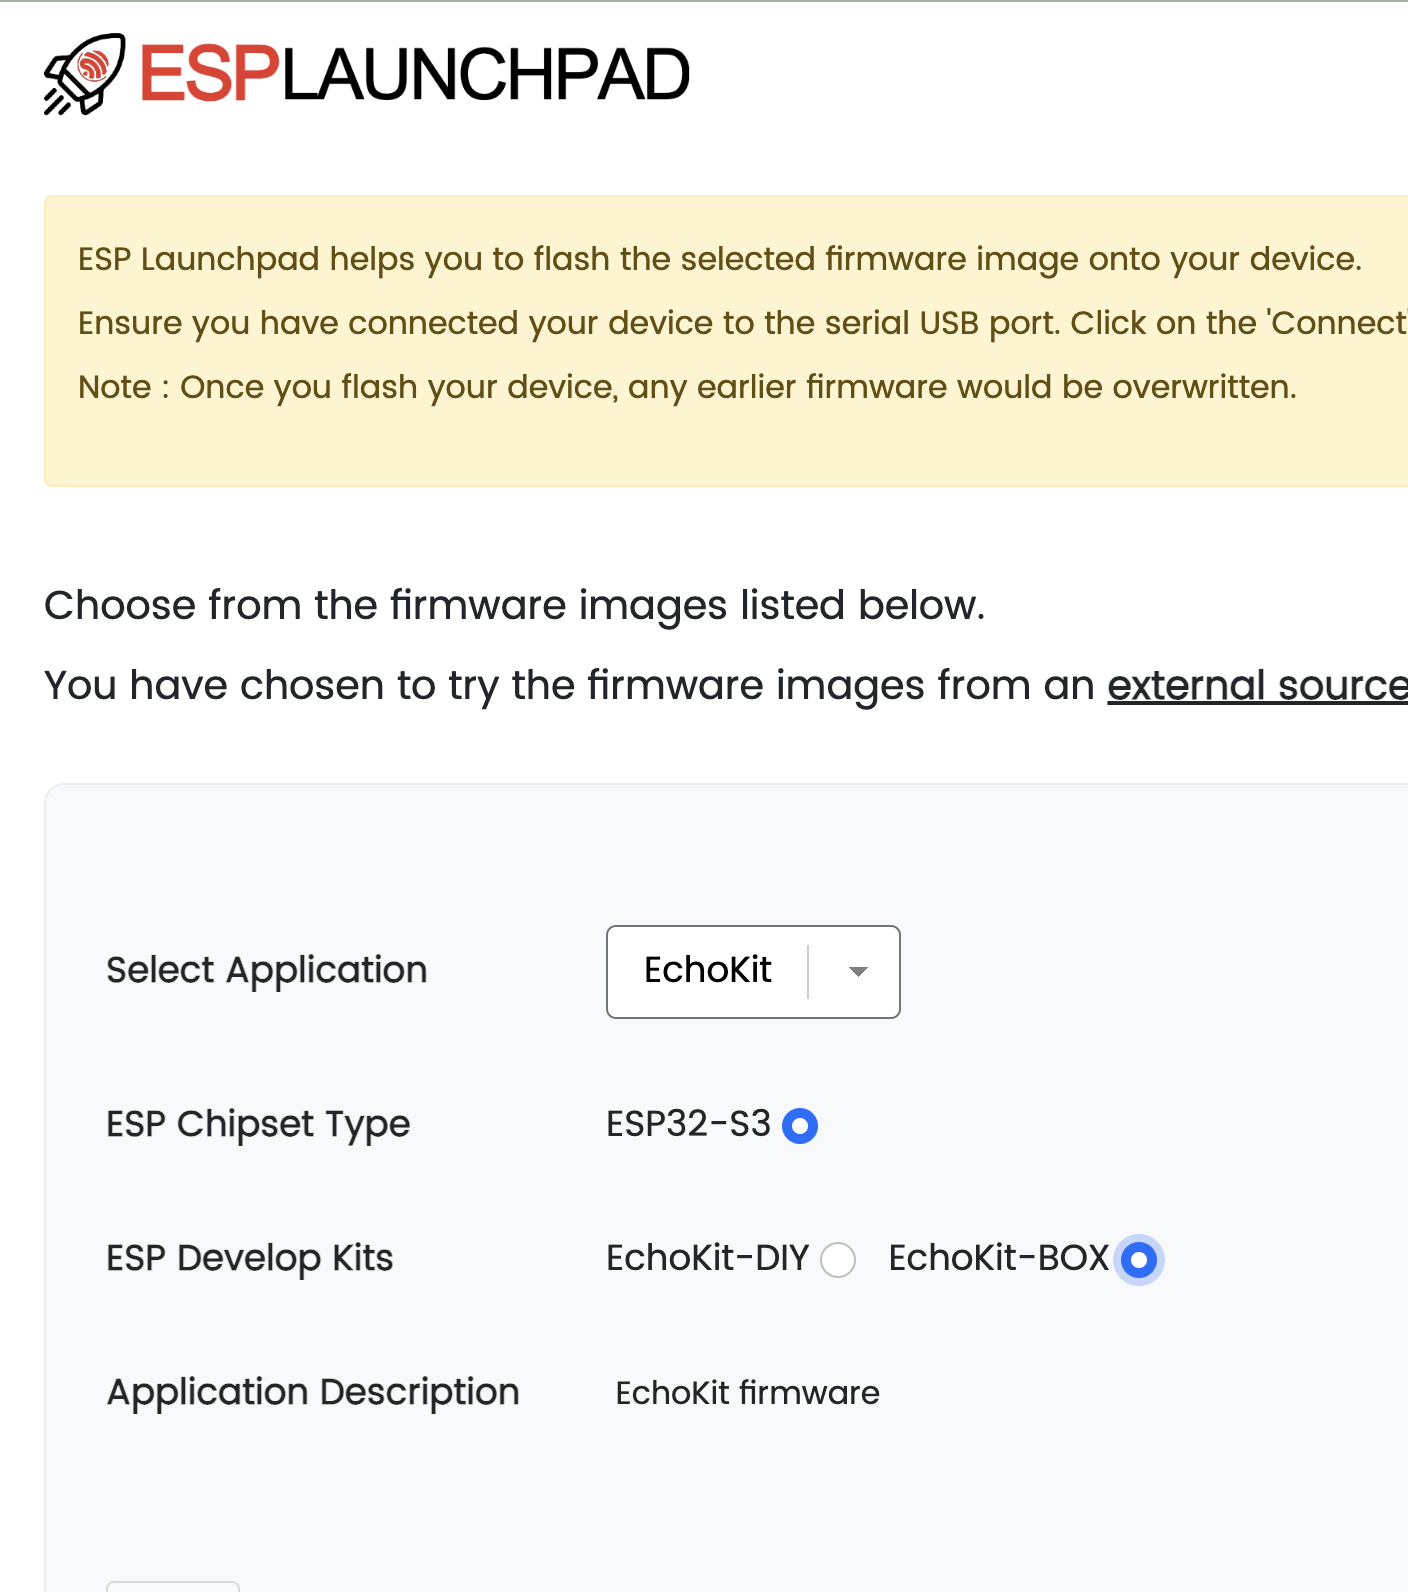
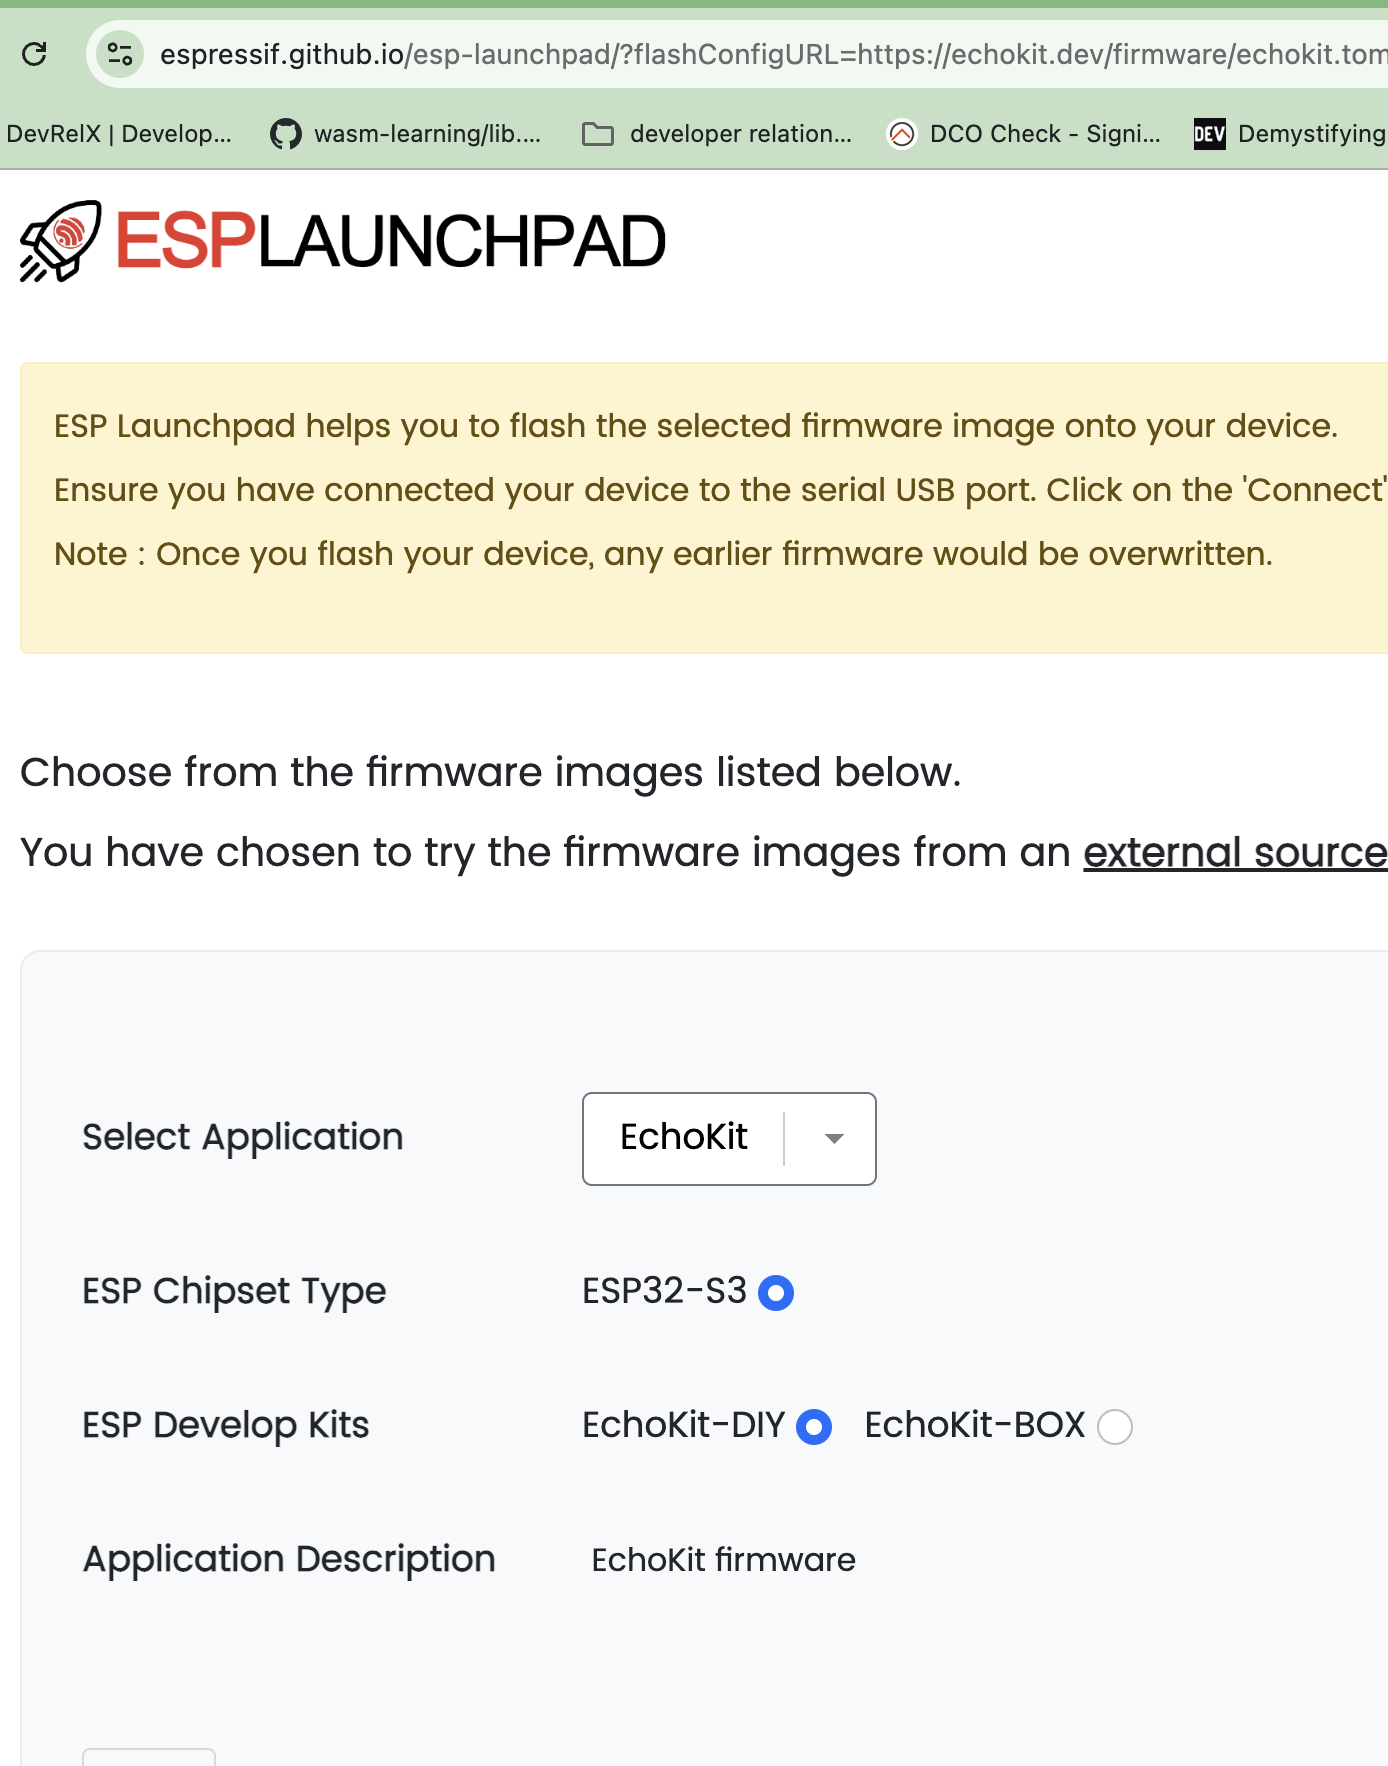
Yesterday, we covered how to flash EchoKit firmware using the ESP Launchpad web tool. It's simple, browser-based, and works great for most people.
But if you're a developer — or if you've ever had the web flasher fail on you — you might want something more direct.
Today is about flashing EchoKit from the command line.
This approach is faster, gives you more control, and works even in situations where the browser-based tool might struggle. Plus, it feels more... natural for anyone comfortable with a terminal.
Why Flash from the Command Line?
The ESP Launchpad web tool is fantastic for getting started. It removes all friction: no toolchains, no dependencies, just click and flash.
But the command line approach has some real advantages:
- Speed: Once set up, flashing is significantly faster
- Reliability: Some USB configurations or systems don't play nicely with the web flasher — the CLI tool often works where the browser fails
- Automation: If you're flashing multiple devices or setting up a fleet, CLI is scriptable
- Developer experience: If you're already in the terminal, why leave it?
Best of all? The setup is straightforward if you have Rust installed.
Prerequisites: Rust Toolchain
The espflash tool we'll use is built in Rust. If you already have Rust installed, you can skip this step.
If not, installing Rust is quick:
curl --proto '=https' --tlsv1.2 -sSf https://sh.rustup.rs | sh
This will install Rust, Cargo, and the standard toolchain. Once it's done, restart your terminal or run:
source $HOME/.cargo/env
Install espflash
With Rust ready, install the flashing tools:
cargo install cargo-espflash espflash ldproxy
This will:
- Install
espflash— the actual flashing utility - Install
cargo-espflash— a cargo helper for building and flashing - Install
ldproxy— a linker proxy needed for some ESP32 builds
The compilation might take a few minutes. Once it's complete, you'll have the espflash command available globally.
Flashing EchoKit DIY
To flash EchoKit DIY from the command line, follow these steps:
Step 1: Download the Firmware
curl -L -o echokit https://echokit.dev/firmware/echokit_boards
Step 2: Connect Your Device
Use a USB cable to connect your computer to the USB-C port labeled OTG on your EchoKit DIY.
Your computer may prompt you to accept or trust the USB device — accept it.
Step 3: Flash the Firmware
With the device connected, run:
espflash flash --monitor --flash-size 16mb echokit
The flags are:
--flash-size 16mb: Sets the flash size for EchoKit DIY--monitor: Keeps the connection open after flashing so you can see the serial outputechokit: The firmware file you downloaded
espflash will detect your serial port and ask you to select it if multiple ports are available. Once flashing completes, you'll see the device boot up in the terminal, and the screen will display the QR code.
Flashing EchoKit Box
Flashing EchoKit Box from the command line follows the same process, with just a couple of differences.
Step 1: Download the Firmware
For EchoKit Box, use the Box firmware binary:
curl -L -o echokit https://echokit.dev/firmware/echokit_box
Step 2: Connect Your Device
Use a USB cable to connect your computer to the USB-C port labeled SLAVE on your EchoKit Box.
Your computer may prompt you to accept or trust the USB device — accept it.
Step 3: Flash the Firmware
The command is identical to the DIY version:
espflash flash --monitor --flash-size 16mb echokit
espflash will detect your EchoKit Box, flash the firmware, and monitor the serial output. When it's done, the device will reboot and display the QR code on screen.
Troubleshooting
If something doesn't work, here are a few things to try:
- Try the other USB port: On EchoKit DIY, if flashing fails on the OTG port, try the TTL port instead. Sometimes the USB data connection behaves differently on each port.
- Force a reset: If the device isn't detected, press the RST button to reset it, then immediately run the flash command again.
- Check USB permissions: On Linux, you might need to add your user to the
dialoutgroup or adjust udev rules for USB serial devices.
Both Approaches Have a Place
After yesterday's browser-based flashing and today's CLI approach, you now have two ways to keep your EchoKit firmware up to date:
- ESP Launchpad (browser): Great for beginners, quick updates, or when you're already in a GUI
- espflash (CLI): Faster, more reliable in tricky environments, and perfect for developers
Neither is "better" — they're different tools for different situations.
The important thing is that you're comfortable updating your firmware. EchoKit is an active, evolving project. New features land regularly. Being able to flash confidently — whether via browser or terminal — means you can stay current with the latest improvements.
Want to get your own EchoKit device and start building?
Join the EchoKit Discord to share your setup and see what others are building with their voice AI agents.