Day 18: Switching EchoKit to Groq PlayAI TTS | The First 30 Days with EchoKit
Over the past two weeks, we’ve built almost every core component of a voice AI agent on EchoKit:
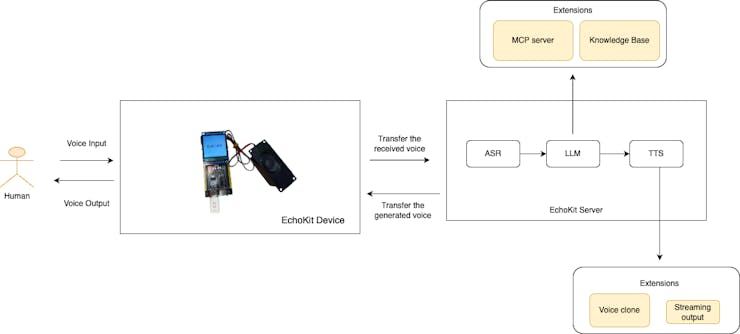
ASR to turn speech into text. LLMs to reason, chat, and call tools. System prompts to shape personality. MCP servers to let the agent take real actions. TTS to give EchoKit a voice.
Today, we close the loop again — but this time, with a new voice engine.
We’re switching EchoKit’s TTS backend to Groq’s PlayAI TTS.
Why change TTS?
Text-to-speech is often treated as the “last step” in a voice pipeline, but in practice, it’s the part users feel the most.
Latency, voice stability, and natural prosody directly affect whether a voice agent feels responsive or awkward. Since Groq already powers our ASR and LLM experiments with very low latency, it made sense to test their TTS offering as well.
PlayAI TTS fits EchoKit’s design goals nicely: It’s fast, simple to integrate, and exposed through an OpenAI-compatible API.
That means no special SDK, and no changes to EchoKit’s core architecture.
Switching EchoKit to Groq PlayAI TTS
On EchoKit, swapping TTS providers is mostly a configuration change.
To use Groq PlayAI TTS, we update the tts section in config.toml like this:
[tts]
platform = "openai"
url = "https://api.groq.com/openai/v1/audio/speech"
model = "Playai-tts"
api_key = "gsk_xxx"
voice = "Fritz-PlayAI"
A few things worth calling out:
The platform stays as openai because Groq exposes an OpenAI-compatible endpoint.
We point the url directly to Groq’s audio speech API.
The model is set to Playai-tts.
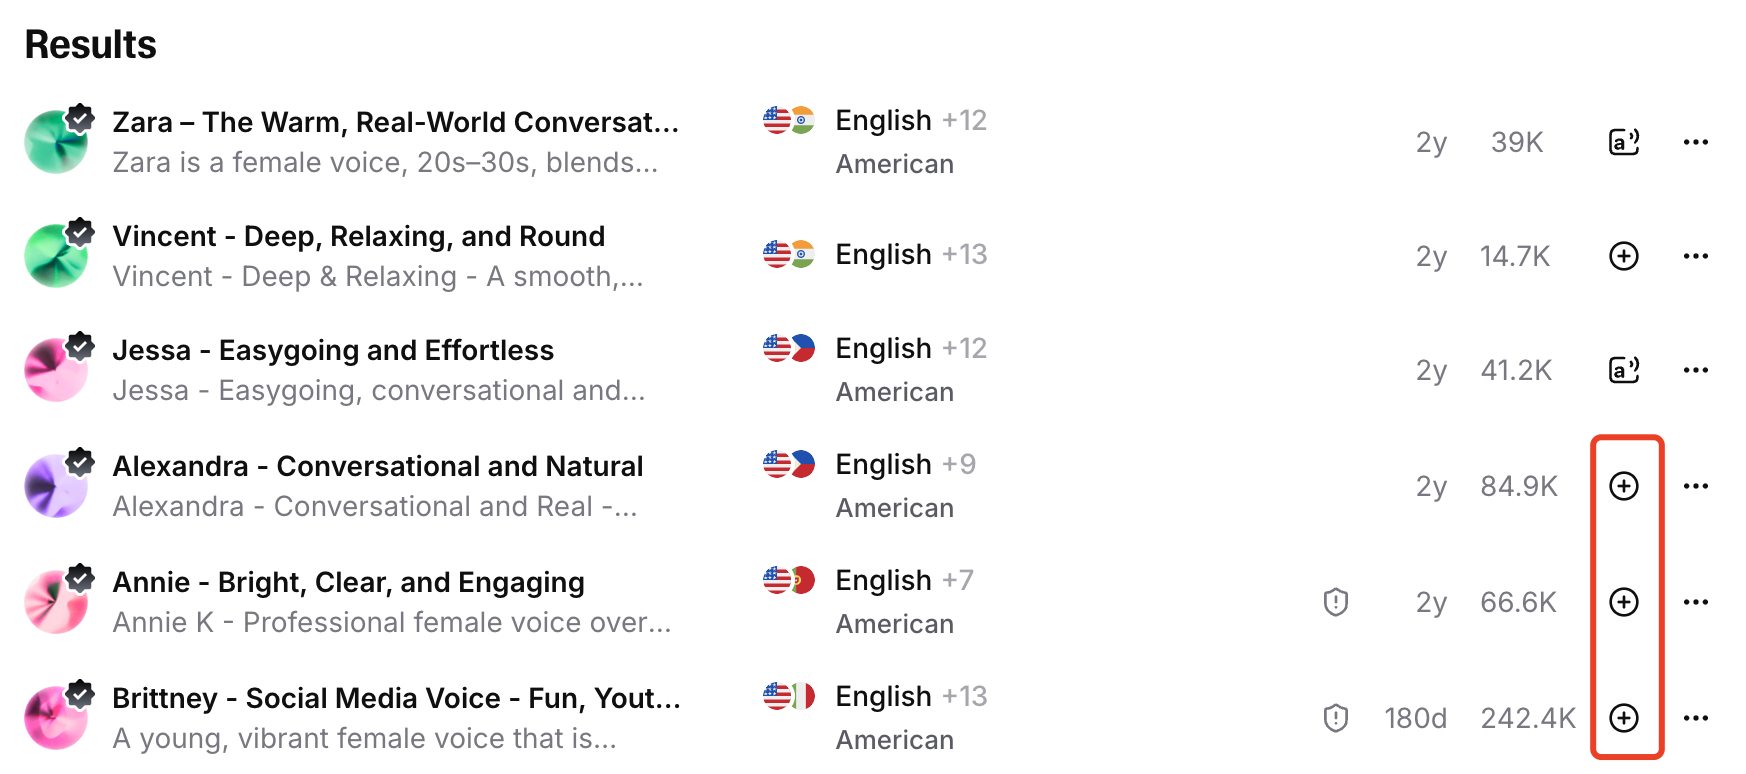
Voices are selected via the voice field — here we’re using Fritz-PlayAI.
Once this is in place, no other code changes are required.
Restart the EchoKit server, reconnect the EchoKit device and the new server, and the agent speaks with a new voice.
The bigger picture
Most importantly, switching different tts providers reinforces one of EchoKit’s core ideas: every part of the voice pipeline should be swappable.
It’s about treating voice as a first-class system component — something you can experiment with, replace, and optimize just like models or prompts.
EchoKit doesn’t lock you into one vendor or one voice. If tomorrow you want to try a different TTS engine, or even run one locally, the architecture already supports that.
Want to get your own EchoKit device and make it unique?
Join the EchoKit Discord to share your welcome voices and see how others are personalizing their voice AI agents!