EchoKit Update in Nov: Firmware & Server Improvements
We’re excited to share the latest updates of EchoKit in Nov, our open-source voice AI kit for makers, developers, students. These updates introduce new features in both the firmware and server, making it easier than ever to set up your device and customize its behavior.
Firmware Update
The latest firmware brings several user-friendly improvements:
-
One-Click Wi-Fi & Server Setup All configuration options—including Wi-Fi credentials and server URL—are now bundled into a single setup interface when connecting the EchoKit Server to your device. Click one button - Save Configurations, and your device will automatically save the settings, restart, and apply the new configuration. See details here.
-
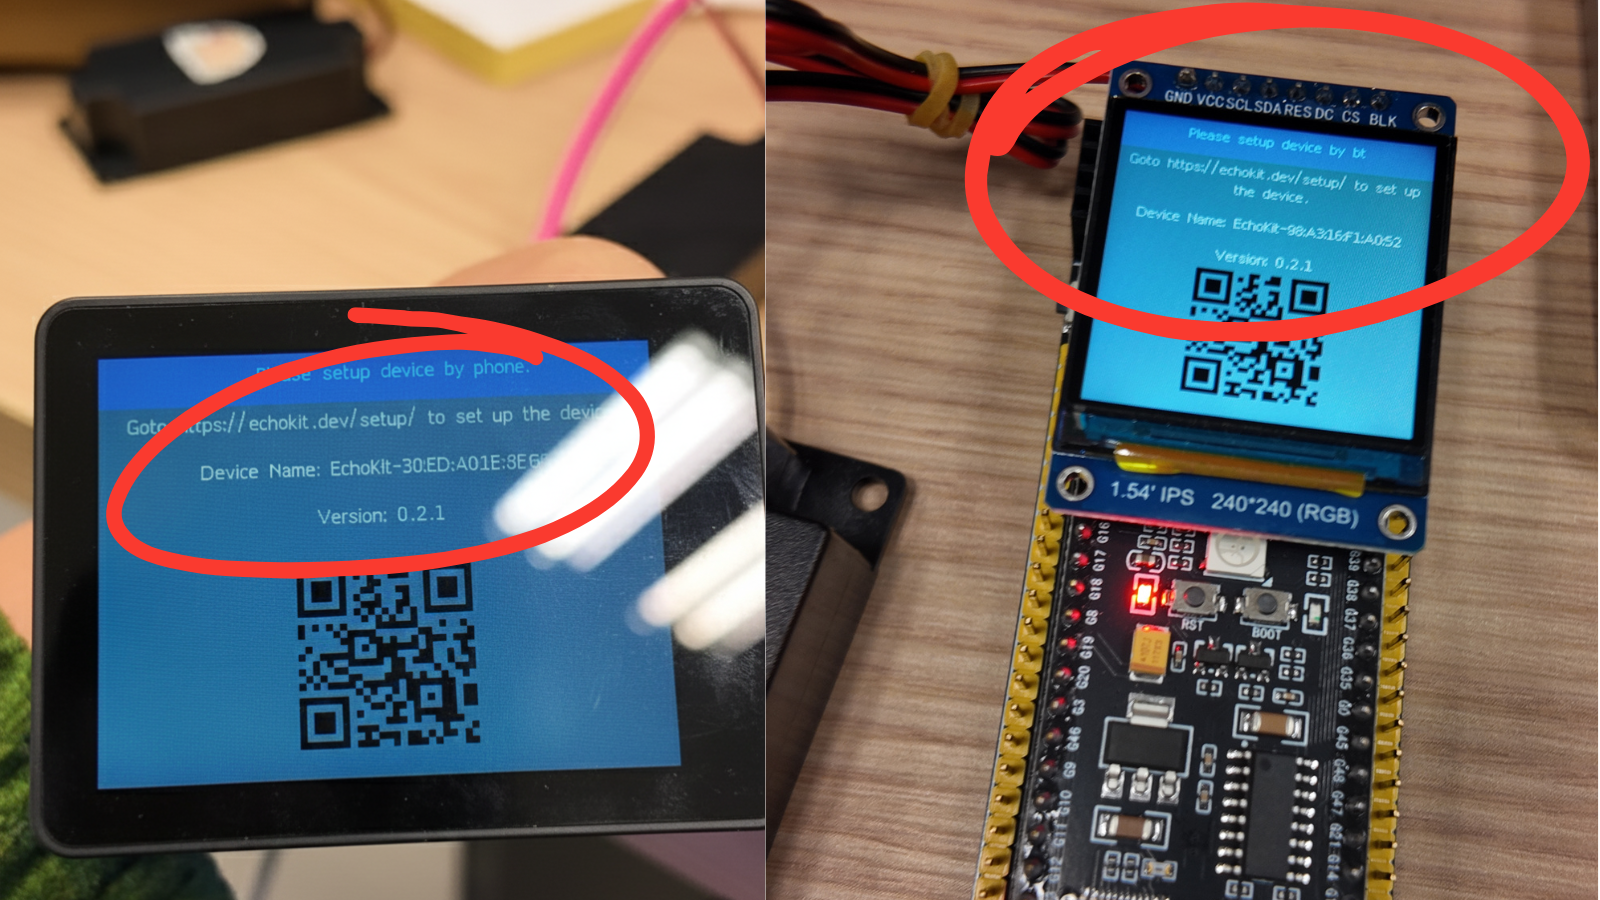
Version Display You can now easily check your EchoKit firmware version on the device, helping you keep track of updates.
-
EchoKit Box Volume Adjustment Adjust the volume directly on your EchoKit Box for a better audio experience without extra steps.
- K2 to lower the volume
- K1 to increase the volume
Server Update
The EchoKit server has also received key improvements:
-
Dynamic Prompt Loading via URL
Prompts define how the AI responds, and with the growing ecosystem of open-source LLM prompts, there’s a wealth of ready-to-use content. For example, websites like LLMs.txt host thousands of prompts for various AI models and use cases. With dynamic prompt loading, you can point EchoKit to these URLs and experiment with different personalities, knowledge bases, or conversation styles in seconds.
You can now load prompts dynamically from a URL, allowing you to:
- Update the AI’s behavior remotely
- Test new conversation flows without restarting the server
- Quickly iterate on experiments and demos
Learn more from the doc: https://echokit.dev/docs/server/dynamic-system
-
Add a Wait Message for MCP Tools When calling MCP tools, a “please wait” message will now appear, providing clear feedback while operations are in progress.
How to Get These New Features
Firmware Update
- Download the latest firmware from EchoKit Firmware Page
- Flash the firmware to your device using the ESP32 Launchpad or CLI command line
- Your device will now support one-click setup, version display, and volume adjustment for EchoKit Box
Server Update
- Get the latest EchoKit server: https://github.com/second-state/echokit_server/releases
- Run the latest EchoKit server with docker or from Rust source code
- You’ll get dynamic prompt loading and wait messages for MCP tools
Once your device and server are updated, all new features will be immediately available.
These updates are part of our ongoing effort to make EchoKit more user-friendly, flexible, and powerful. Whether you’re a maker experimenting with AI at home or a developer building advanced voice interactions, these improvements make it easier to focus on what matters: creating amazing experiences.
Stay tuned for more updates, and happy tinkering with EchoKit!